One of Scotland’s favourite soft drinks can be put to good use in the kitchen too. From brownies and cupcakes to macaroons, we show you how.
Only one fizzy drink has managed to out-sell Coca-Cola in Scotland, and that’s Irn-Bru made right on our doorsteps.
Ranking number three in the UK and topping the charts in its native country, the soft drink is not only prized by Scots for its delicious taste, but for its heritage and celebrating Scottish culture.
During lockdown many of us are turning our hands to baking, be that a loaf of banana bread, a tray of cookies, or even some fudge.
But what would happen if you combined Scotland’s national soft drink made by AG Barr with, well, flour, caster sugar, eggs and butter? The answer is, a delicious bake full of flavour – and also a little additional colour.
From brownies to cupcakes, not to mention macarons, baking bloggers across the country have developed recipes using the fizzy bright orange drink.
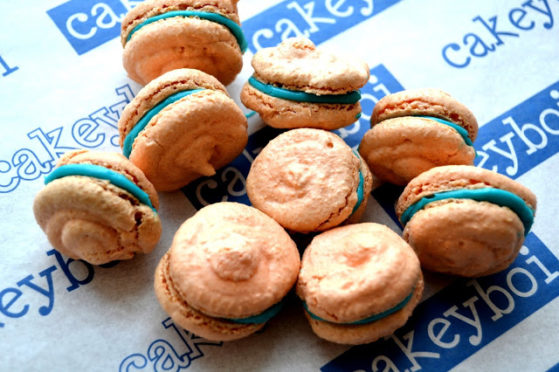
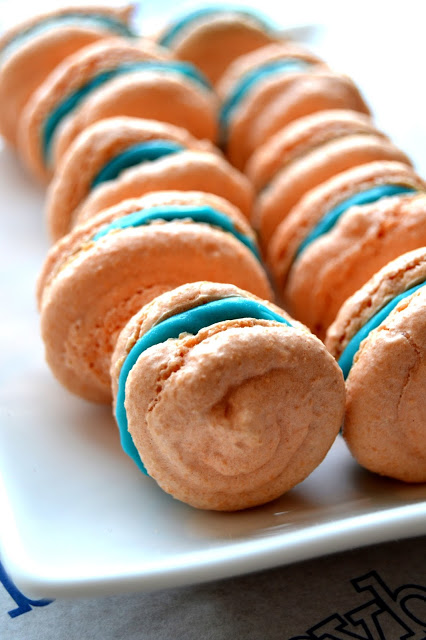
Stuart Vettese, from Arbroath – known as Cakeyboi – online, is one of them. Creating Iron Brew macarons and Irn-Bru brownies, the blogger was inspired to make the bakes after uncovering Iron Brew flavouring in his cupboards.
Iron Brew Macarons
 Ingredients:
- 70g ground almonds
- 155g icing sugar
- 2 large egg whites, room temperature
- 50g granulated sugar
- 2 tsp Iron Brew extract
- Orange food colouring paste
- Blue food colouring paste
- 100g unsalted butter, softened
Method:
- Preheat the oven to 180°C and place the oven rack to the lowest part of the oven.
- In a food processor, blitz together the ground almonds and 115g icing sugar for one minute.
- Transfer to a sieve and pass through until all you are left with are larger pieces in the sieve.
- Blitz the remaining crumbs again and repeat the process until all but a teaspoon or so is left after re-sieving.
- In the bowl of a food mixer place the egg whites and granulated sugar. Beat together by hand, before beating on high in the food mixer for five minutes. The egg whites should be thick and glossy.
- Add one teaspoon of the extract and orange colouring (as much as you like). Stir these through.
- Fold the almond mix in the egg white mix, gently, so you don’t deflate the egg whites.
- Transfer to a piping bag and pipe onto a baking tray lined with greaseproof paper. The rounds should be between just shy of an inch in diameter.
- Smack the baking tray off the worktop to get rid of any air bubbles.
- Place into the oven and bake for 13 minutes approximately.
- Allow to cool completely.
- Beat together the softened butter, 50g of granulated sugar, one teaspoon of Iron Brew extract and blue food colouring (amount will depend on colour you prefer) and fill your macarons with it. You can now enjoy!
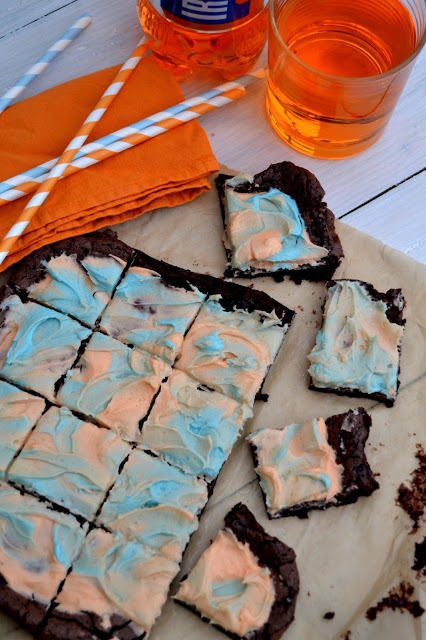
Irn-Bru Brownies
 Ingredients:
(makes approximately 16 brownies)
- 1 box brownie mix
- 100ml Irn-Bru (diet or regular)
- 2 tbsp vegetable oil
- 55g unsalted butter
- 1/2 tsp Iron Brew flavouring
- 115g icing sugar
- 2 tbsp Irn-Bru (diet or regular)
- Orange and blue food colouring
Method:
- Pre-heat the oven to 180°C (160°C fan) and line a 9″ square brownie tin with greaseproof paper.
- In a mixer, add the brownie mix, 100ml of Irn-Bru and the vegetable oil.
- Beat for at least one minute until the mixture is smooth.
- Transfer the mix to the brownie pan and smooth over with a knife.
- Bake in the oven for 20 to 25 minutes or until a toothpick comes out almost clean and the top is slightly cracked.
- Allow to cool fully.
- In the mixer beat the butter, icing sugar, Iron Brew flavouring and two tablespoons of Irn-Bru until smooth.
- Divide the buttercream into two and colour one half pale orange, the other pale blue.
- Dollop on top of the cooled brownies and with a knife, swirl.
- Refrigerate until ready to enjoy. Slice into squares with a knife and share out.
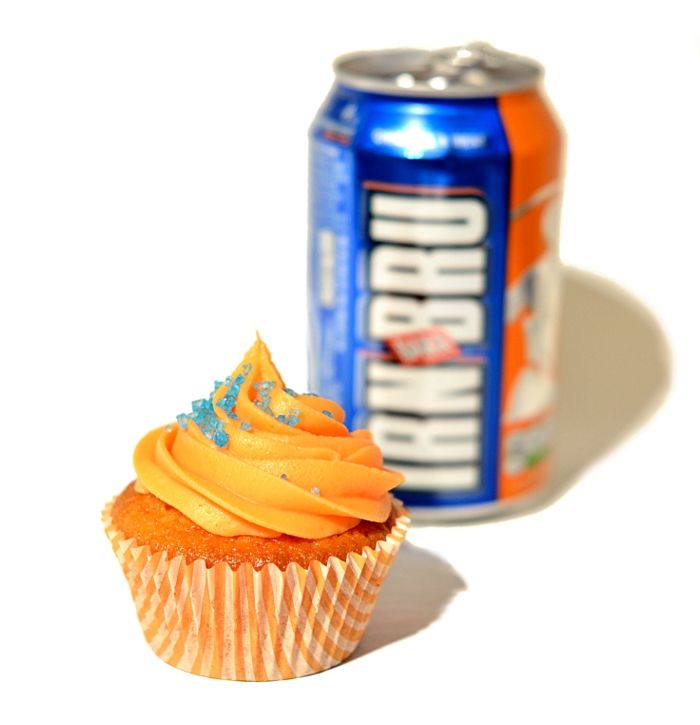
Scottish blogger Amy Lorimer, who runs Baking with Granny has also used the tasty drink to create Irn-Bru cupcakes which feature an Irn-Bru syrup, too.
Irn-Bru Cupcakes
 Ingredients:
For the Irn-Bru Syrup:
- 500ml full sugar Irn-Bru
For the cupcakes:
- 120g plain flour
- 100g caster sugar
- 1 ½ tsp baking powder
- 40g butter at room temperature
- 100ml milk
- 1 egg
- 4 tbsp Irn-Bru Syrup
For the icing:
- 300g icing sugar
- 75g butter at room temperature
- 4-5 tbsp of Irn-Bru-syrup
- Orange food colouring optional
Method:
For the Irn-Bru syrup:
- Place your Irn-Bru into a pot large enough to hold it and bring it to the boil.
- Boil until the Irn-Bru reduces to around a 10th of its original volume. It took around 2.5 hours for 2 litres to reduce down to 200ml but obviously the less Irn-Bru you use, the less time it’ll take.
- Once it’s ready it’ll be a thin syrup consistency and a deep orange colour. Remember it will be very hot and as such will be a bit thicker once it cools down.
For the cupcakes:
- Pre-heat your oven to 170°C and line your muffin tray with eight to 10 cupcake cases.
- Sift the flour, sugar and baking powder into a large bowl. Add the butter and mix on a medium speed until the mixture resembles a sandy consistency.
- Gradually add half the milk to the mixture. Whisk the egg and syrup into the remaining milk and again gradually add to the other ingredients. Mix until only combined – do not over mix.
- Using an ice cream scoop, fill your cupcake cases two thirds full and bake for around 20 minutes until a skewer comes out the cupcakes clean.
- When cool enough to touch, transfer to a wire rack to cool completely.
For the icing:
- Sift the icing sugar into a large bowl, add the butter and mix on a slow to medium speed with a clean tea towel over your mixer to prevent your kitchen filling with icing sugar.
- When the butter and sugar start to come together, gradually add your Irn-Bru syrup a spoonful at a time. Continue to mix until completely combined and of a light and fluffy consistency. If you want a deeper orange colour then you can add a dab of orange food colouring also.
- Pipe on to your cupcakes when they’re completely cool and sprinkle with a little blue sugar if desired.
Another Scottish blogger taking inspiration from the nation’s favourite soft drink is Peter Gilchrist of Tenement Kitchen.
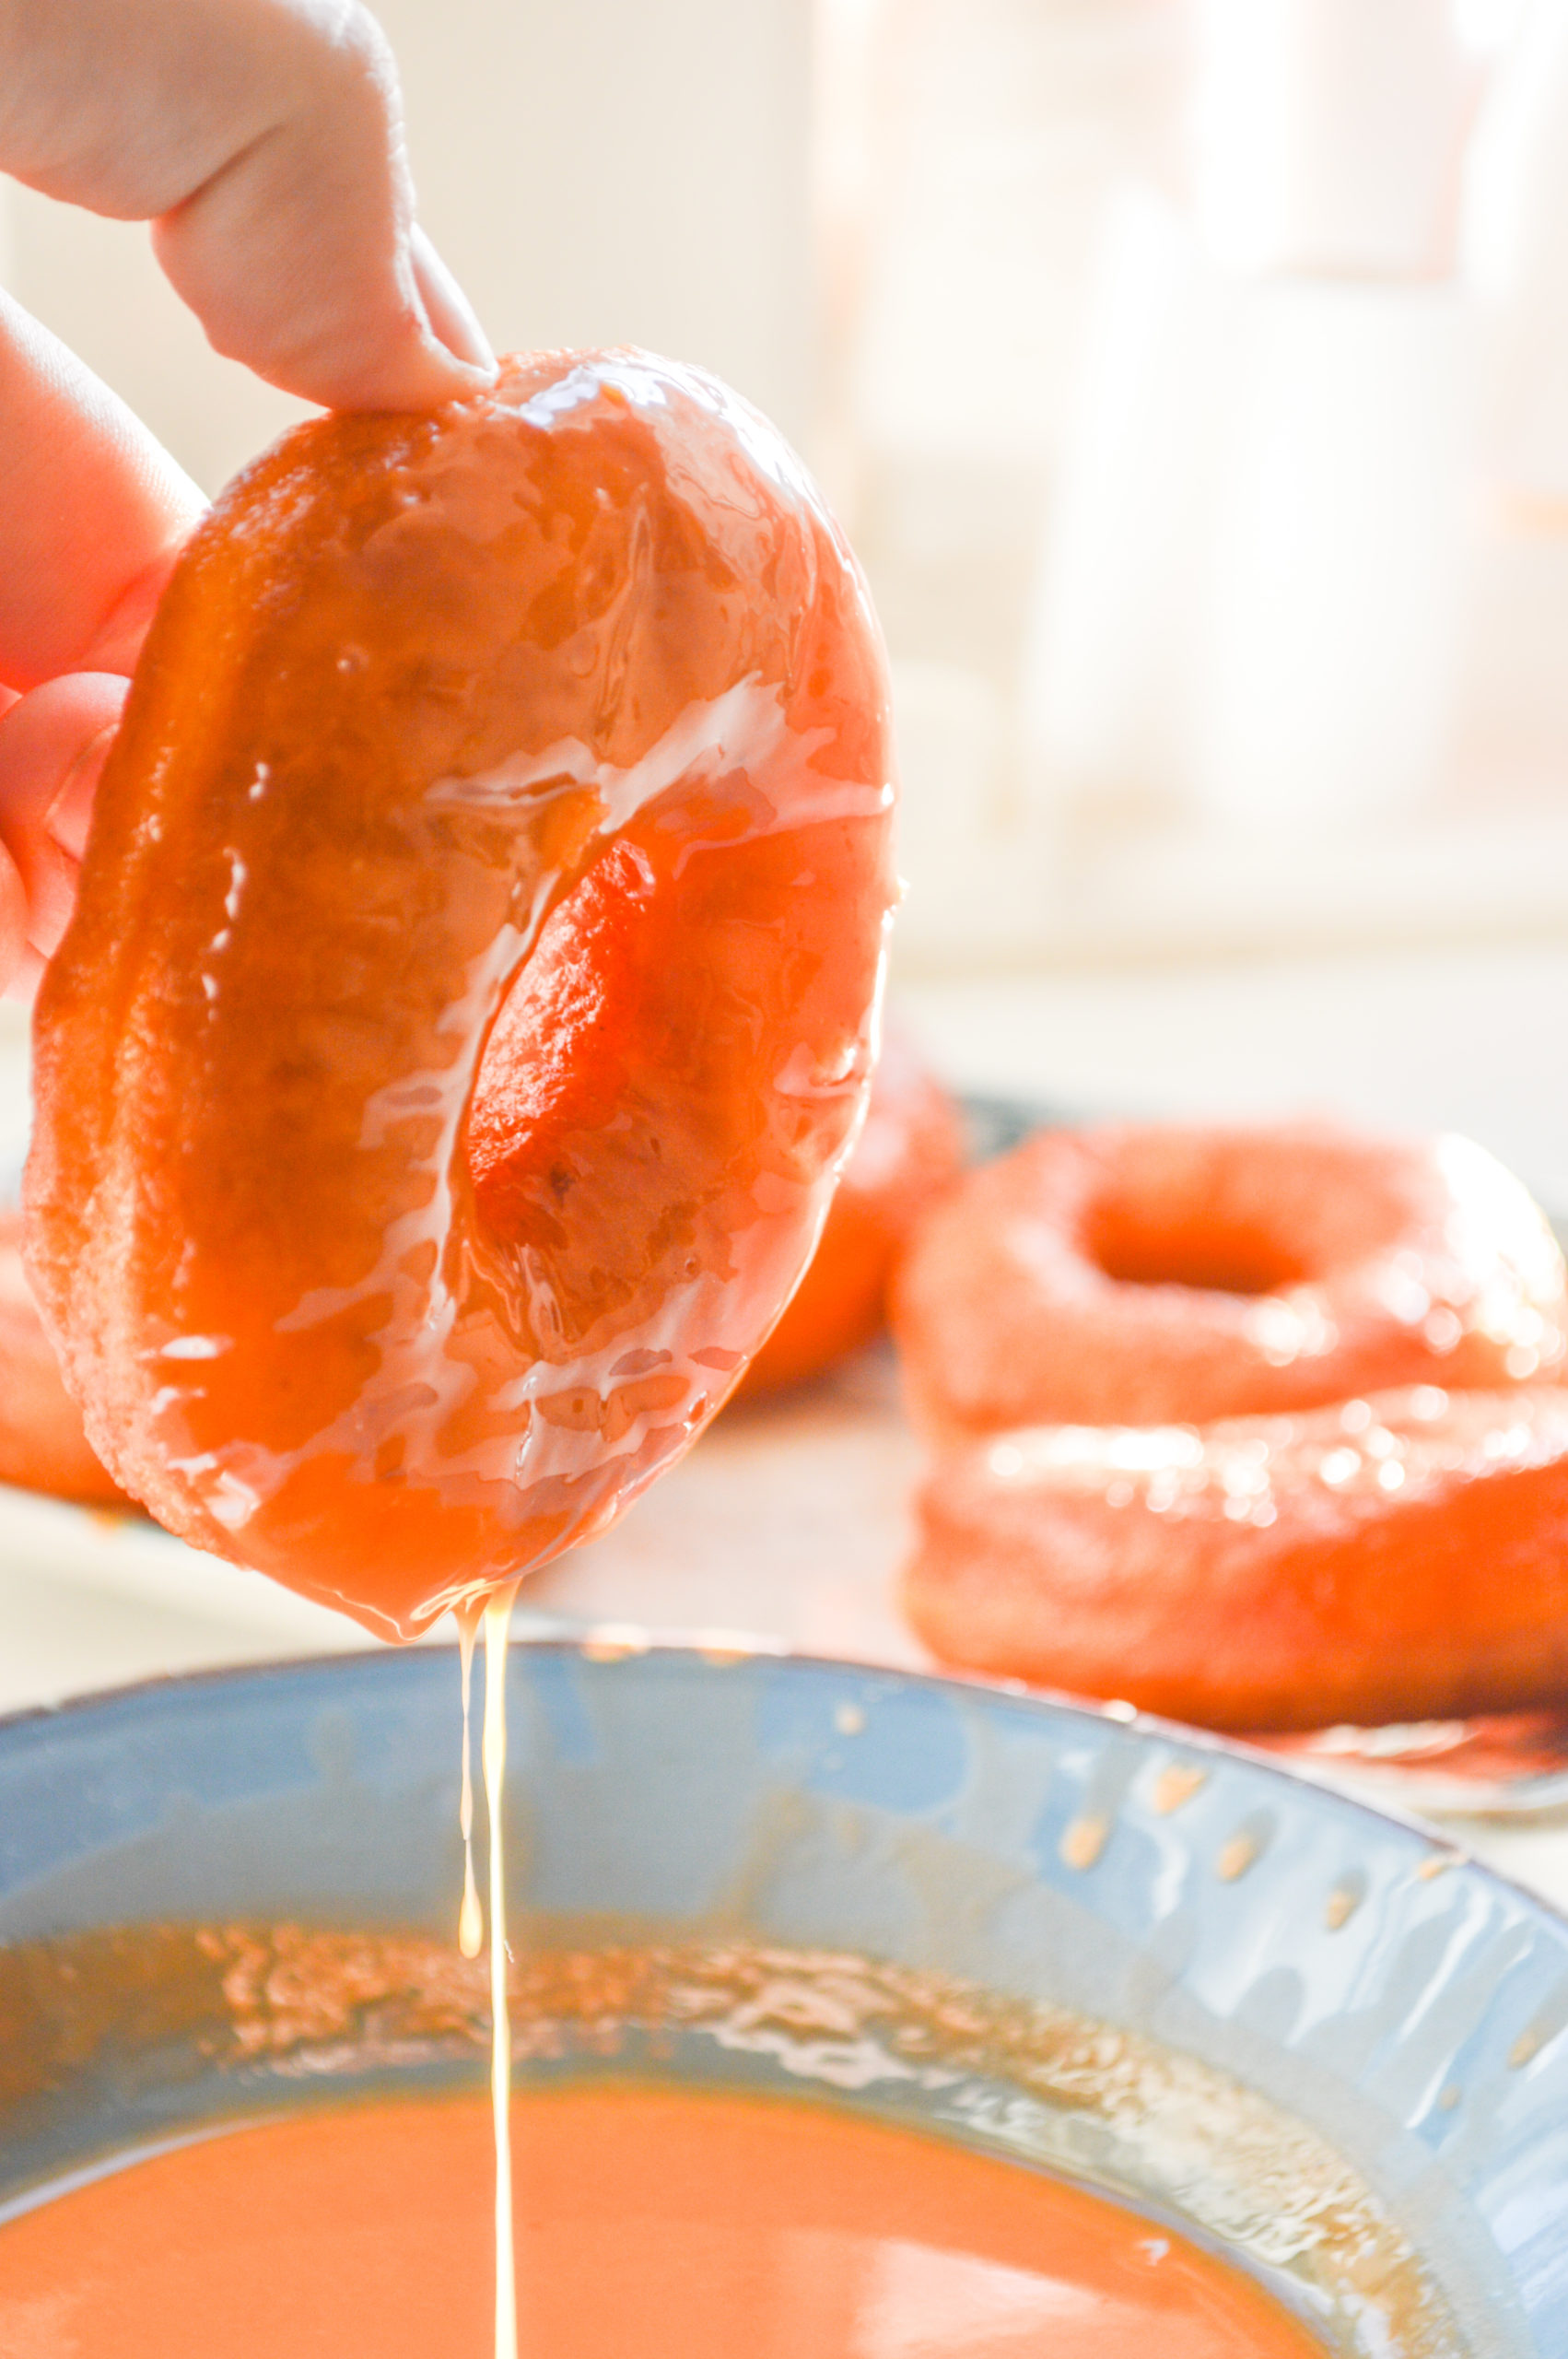
He has created Irn-Bru Krispy Kreme doughnuts and another version of Irn-Bru brownies which includes Irn-Bru chocolate.
Irn-Bru Krispy Kreme Doughnuts
 Ingredients:
- 450ml Irn-Bru, reduced to 200ml
- 100ml milk
- 7g instant yeast
- 2 large eggs
- 113g unsalted butter, melted and cooled
- 50g granulated sugar
- 1 teaspoon salt
- 535g bread flour (plus more for rolling out the dough)
- Oil (for frying)
For the glaze:
- 500g icing sugar
- 100ml Irn-Bru
- 1 tbsp double cream
- 1 pinch salt
Method:
- In a pot, bring a litre of Irn-Bru to the boil and then simmer for around 20 minutes without a lid. This is less of a science and more about a personal call. I’d recommend letting it reduce by half.
- In a medium bowl, heat the milk in the microwave until it is warm to the touch, about 45 seconds. Add the warm 200ml of Irn-Bru syrup firstly by mixing in a tablespoon to temper (don’t worry if it curdles; it won’t effect the yeast). Add in the yeast and give it a gentle stir. Let the mixture sit until there is some foam on top, about five minutes.
- Using a stand mixer fitted with the dough hook, beat together the yeast mixture, the eggs, butter, sugar and salt until combined. Add in about half of the flour and mix until combined. Add in the remaining flour and mix until combined. During the mixing process, you may need to stop the mixer and scrape down the sides. If the dough is too wet to handle, add in flour one tablespoon at a time. Cover the bowl with a large kitchen towel, and leave it in a warm place to let it rise until it doubles in size, about one hour.
- When the dough is done rising, pour it onto a well-floured surface and roll it to 1/2 an inch in thickness. Cut the doughnuts with a doughnut cutter, or with to different sized round cutters. If you’ve lost the smallest cutter, a round cap from a spice jar is perfect. Save the doughnut holes. Knead scraps together, being careful not to overwork the dough, and repeat the process of rolling it out and cutting the doughnuts.
- Place the cut doughnuts on parchment paper, leaving room to rise between each one. Cut squares of parchment paper for the doughnuts to rise on. This makes everything so much easier when it comes time to individually dropping them in the oil. Cover the doughnuts with a kitchen towel and let them rise in a warm place until they are puffed up about 45 minutes.
- About 15 minutes before the doughnuts are done rising, heat oil in a deep-fryer or large heavy-bottomed pot to 190°C.
When the doughnuts are ready and the oil is hot, carefully add the doughnuts to the oil, a few at a time without overcrowding your deep-fryer or pot. If the doughnut sinks to the bottom, your dough is under-prooved and you need to wait a little longer. When the bottoms of the doughnuts are golden, about 45 seconds, flip the doughnuts over using a spatula. Cook until the other side is also golden. Doughnut holes will cook quicker. Remove doughnuts with a tong or slotted spatula, and place on the prepared racks or plates. - Repeat with the remaining doughnuts, making sure to keep the oil at the right temperature.
For the glaze:
- In a large bowl, mix together the sugar, Irn-Bru, cream and salt until smooth. (I’ve never achieved a lump-free icing sugar without the use of a stand mixer or whisk).
- Dip one side of the fried doughnuts into the glaze. Flip the doughnut over using a fork. Carefully transfer the glazed doughnut to the prepared cooling rack. The glaze will slowly drip off the doughnuts as it sets.
- Repeat with remaining doughnuts.
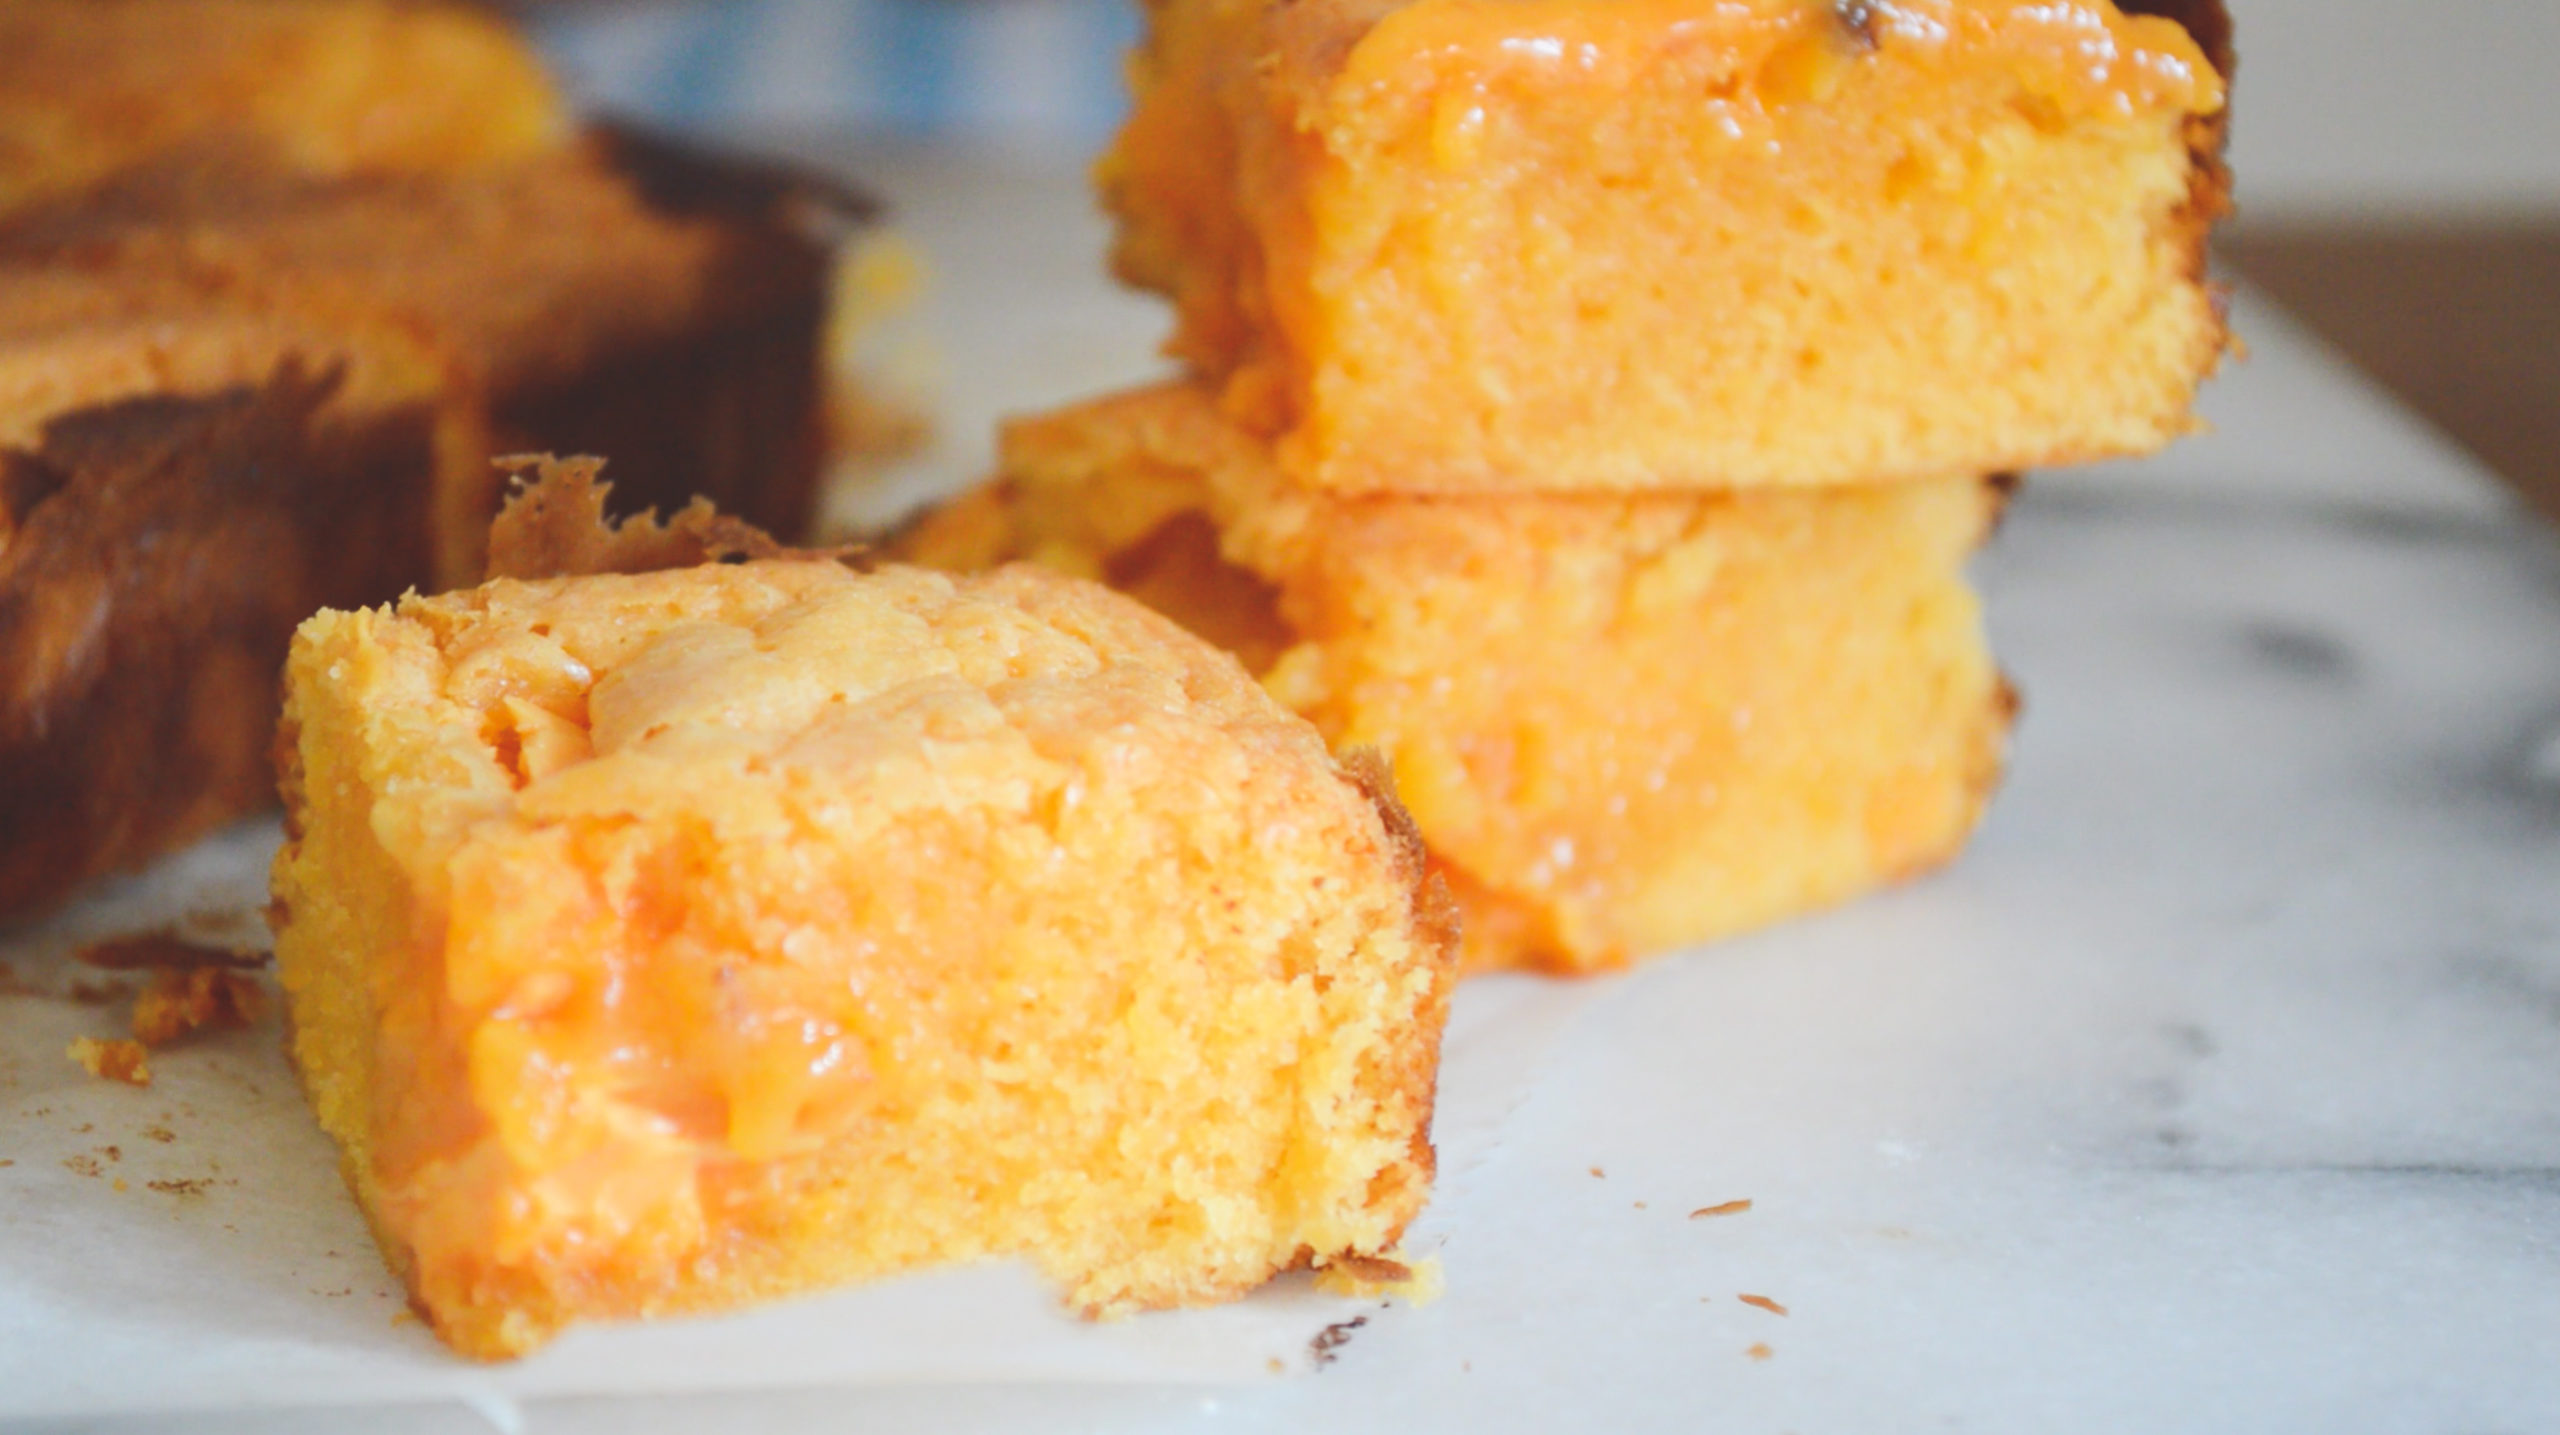
Irn-Bru Brownies
 Ingredients:
- 2 cans of Irn-Bru
- 100g Iron Brew Choccy (plus 100g for chunks. Standard chocolate chips will also work.)
- 100g butter
- 160g golden caster sugar
- 2 eggs
- 75g plain flour
- 1 teaspoon vanilla extract
Method:
- Pour two cans of Irn-Bru into a medium saucepan and reduce for 45 minutes at a medium to low heat. You must not use Diet Irn-Bru or it will just evaporate, instead of reducing into a thick syrup. Allow to cool.
- Preheat your oven to 180°C/Gas mark 4.
- Melt the Irn-Bru chocolate with the butter and allow to cool slightly.
- Beat the eggs with the sugar and then beat in the Ir-Bru chocolate mixture.
- Sift in the flour and mix well, adding the vanilla and a tablespoon of the Irn-Bru syrup. Fold in chocolate chunks, if using. Pour into a lined 20cm square baking tin.
- Bake for 20 to 25 minutes.
- Allow to cool and cut into squares.