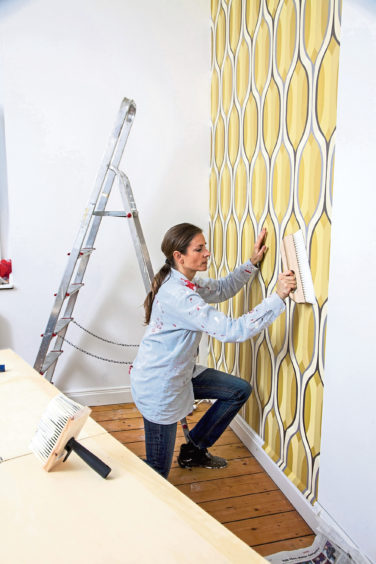
One of the quickest and least expensive ways to give your home a makeover is by putting up fresh wallpaper.
“If you’re new to wallpaper, then the thought of tackling the job yourself can feel a little overwhelming, but it’s actually really easy to hang,” says Alex Whitecroft, head of design at I Want Wallpaper (iwantwallpaper.co.uk).
“As with any job, preparation is key.”
Here’s Alex’s tips for stripping and hanging new wallpaper…
FIRST STEPS

Protect floors, woodwork and furniture, and if possible, remove wall sockets, covering gaps with tape to stop water getting in, and turn the electricity off to be extra safe.
If you can’t remove furniture, then move it to the centre of the room and cover with a sheet.
Use a knife to carefully pry away a corner of the paper, then pull it down at an angle.
If it peels away in a long strip, with no signs of adhesive underneath, the task is a lot easier.
For non-strippable wallpaper, make a number of slits around 10-inches apart in the paper with a utility knife, being careful not to damage the wall underneath. Use a sponge to wet the wall with a mix of warm water, a small amount of cellulose paste and washing-up liquid.
After a few minutes use a wallpaper scraper to slide behind the slits, and holding the blade at a 30-degree angle, slowly scrape the paper upwards, away from the wall.
Steamers can be used for more stubborn papers.
Remove traces of glue left on the wall with a solution of washing-up liquid, a tablespoon of baking soda, vinegar and hot water.
Apply with a sponge, then scrape away using a putty knife or similar.
Once the wall has dried thoroughly, patch any holes with a joint compound and when dry, use sandpaper to create a smooth surface.
PAPER AND TOOLS
Buy wallpaper in consecutive batch numbers, so the paper matches up perfectly.
Accurately measure the area that needs to be covered and slightly over-order to allow for mishaps.
This is also necessary if you’ve chosen patterned paper, so you can match up the pattern repeat.
You’ll need a pasting table, stepladder, a bucket, a paint roller and tray, pasting brush, a seam roller (a tool that helps seal edges without marking surfaces), a wallpaper smoother (a flexible plastic tool to smooth wallpaper and remove air bubbles), a spirit level/plumb line to make sure you hang wallpaper straight, drawing pins, a steel tape measure, pencil, scissors, a large scraper and a utility knife.
PREPARING THE WALL
“Size” the wall by covering it in a mixture of half PVA glue and half water applied with a paint roller.
Use a plumb line to draw straight lines at regular intervals around the room.
Measure the floor to ceiling height of the room and make a mark on your pasting table – this saves time measuring each piece of paper individually.
Allow a few extra inches for variations in height within the room – especially in old houses where floors and ceilings can be uneven – and to make sure you have adequate paper to line up the pattern repeat.
PAPERING
Place a strip of wallpaper flat on the table and level with the edges, weigh down each end and spread on the paste evenly. Fold the paper in a concertina to carry it safely to the wall.
It’s important to get the first length of paper behind hung straight as it sets the template for the rest of the room, so use those straight pencil lines you’ve already drawn as a guide.
If your paper has a large pattern, start in the middle of the wall or at a focal point in the room and work outwards – you’ll need to measure the midpoint in your wall.
For plains or small pattern repeats, begin papering from the corner of the room.
Apply the paper to the wall, allowing some overlap at the ceiling, and then trim it. Repeat with further strips and ensure the pattern lines up.
Smooth the paper so there are no air bubbles and voila – you’ve wallpapered like a pro!