The signature on the small piece of paper was clear but looked rather unremarkable as it had been written without flourish.
But the name jumped out to me for it belonged to Barnes Wallis, a man who wrote his name in the history books.
Wallis was the engineer and inventor of the famous “bouncing bomb” used by the Royal Air Force (RAF) during the Second World War attack on the dams of the Ruhr Valley, which is better known as “the dambusters” raid.
He also designed several other types of bombs and helped create Wellington Bombers, many of which were based at RAF Lossiemouth in Moray.
The famous 617 “Dambusters” Squadron was based at Lossiemouth until 2014 when it was disbanded, as the Tornado planes it flew were withdrawn from service.
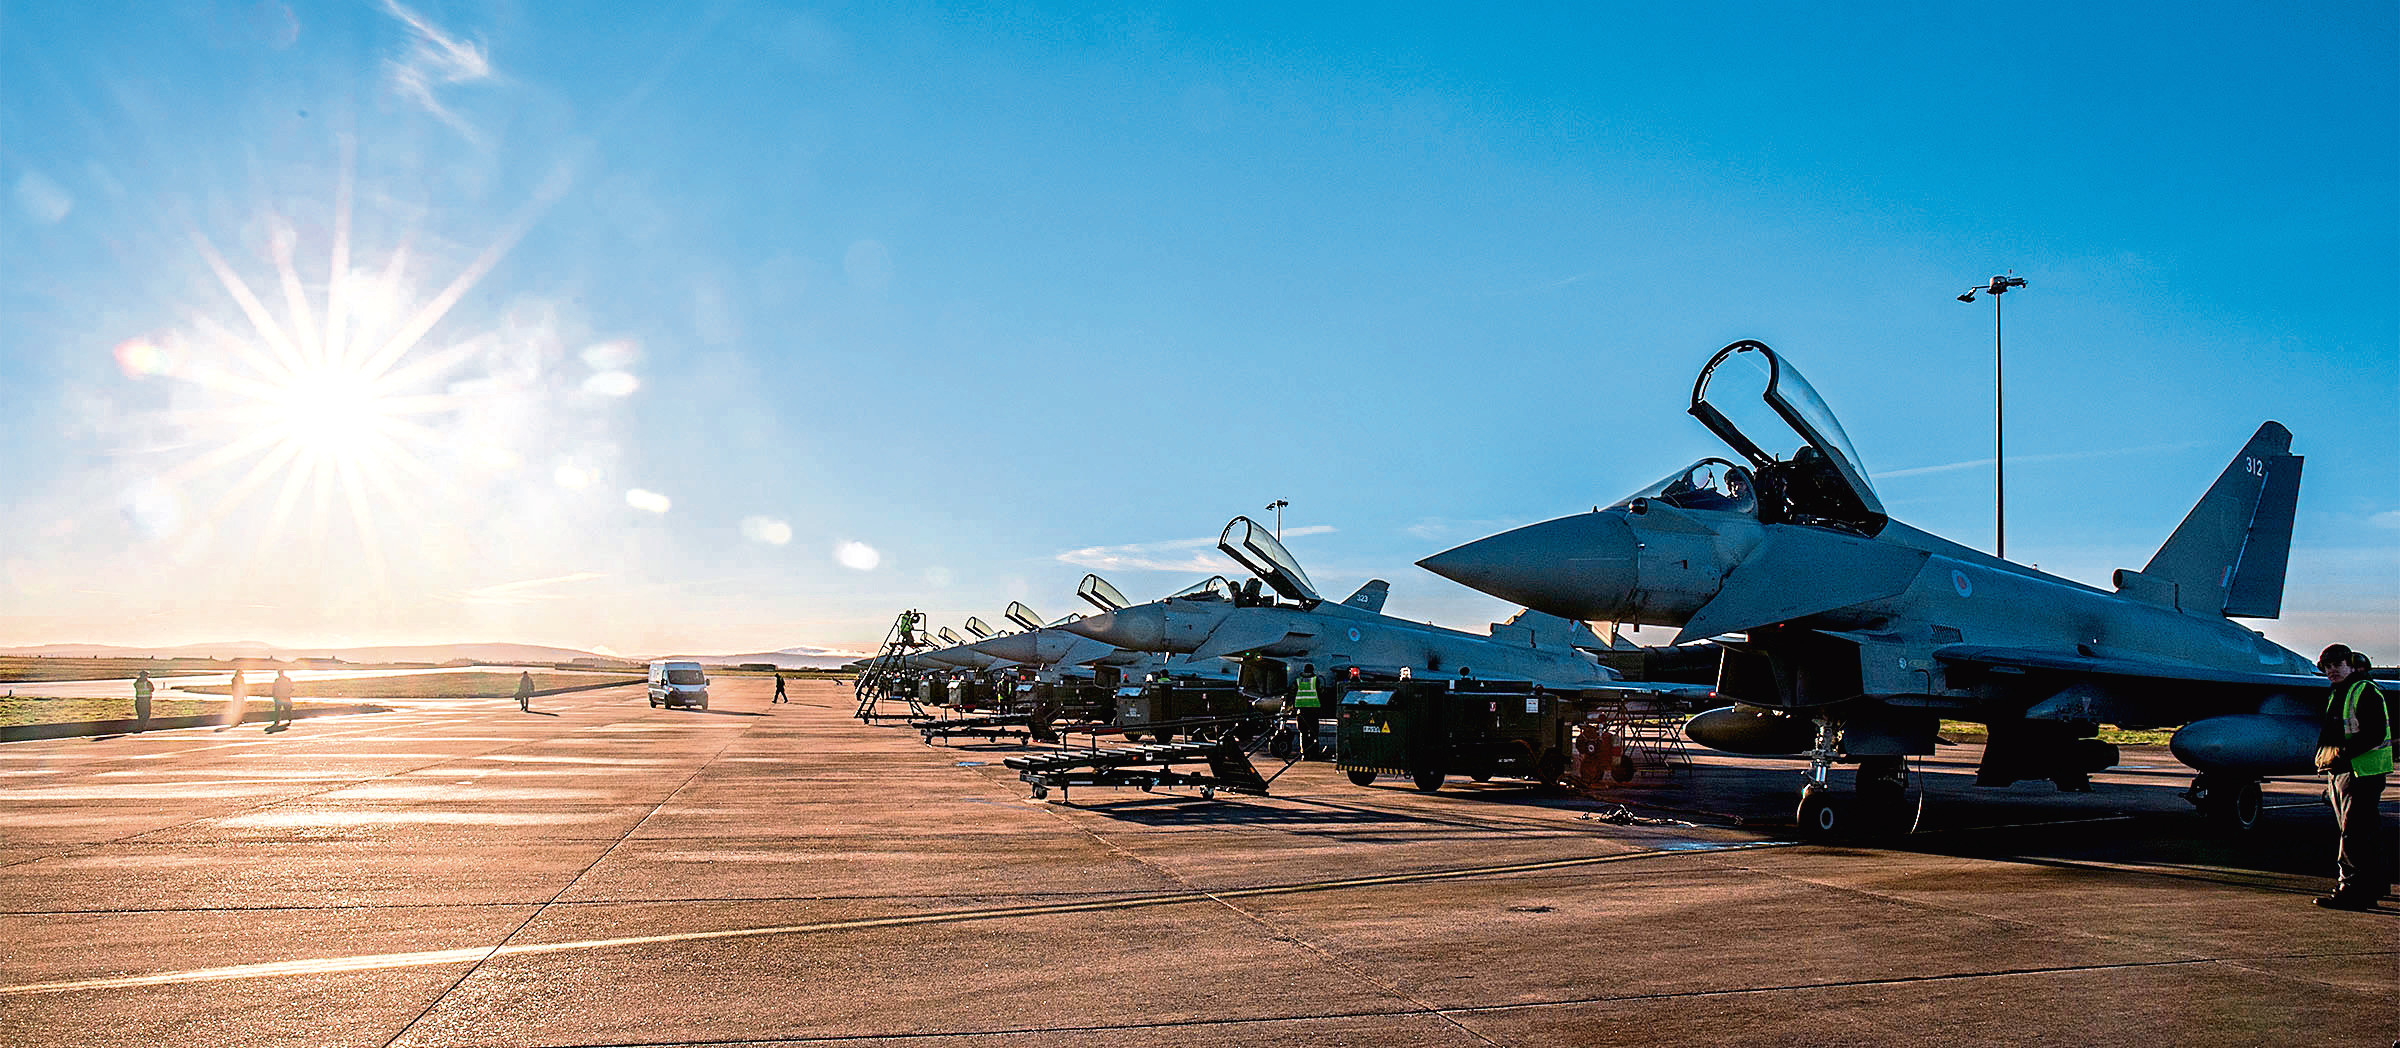
Today, the base is an RAF Quick Reaction Alert (QRA), one of two in the country tasked with protecting UK airspace, and is home to three Typhoon combat aircraft squadrons and an RAF Regiment squadron.
It’s also home to a unique heritage centre which is now open to the public, and this is where you’ll find the story of Barnes Wallis, among many other fascinating artefacts and photographs, held within its walls.
But this museum is not one you can casually visit…
Because it is a working military base, at least one week’s advance notice is required to ensure there will be someone available to show visitors around, and also to make sure there aren’t any major operations taking place at the time.
Booking in advance is worth the effort though, as Flt Lt Dan Chorley, who accompanied me on my visit, explained: “What visitors get is a unique, behind-the-wire experience.
“They will need to bring photographic ID such as a passport or driving licence, then they’ll be accompanied to the heritage centre where one of the team will be on hand to show them around the museum.
>> Keep up to date with the latest news with The P&J newsletter
“Visitors may also see, close at hand, planes taking off and landing, and get a feeling of what life is like for those on the base.”
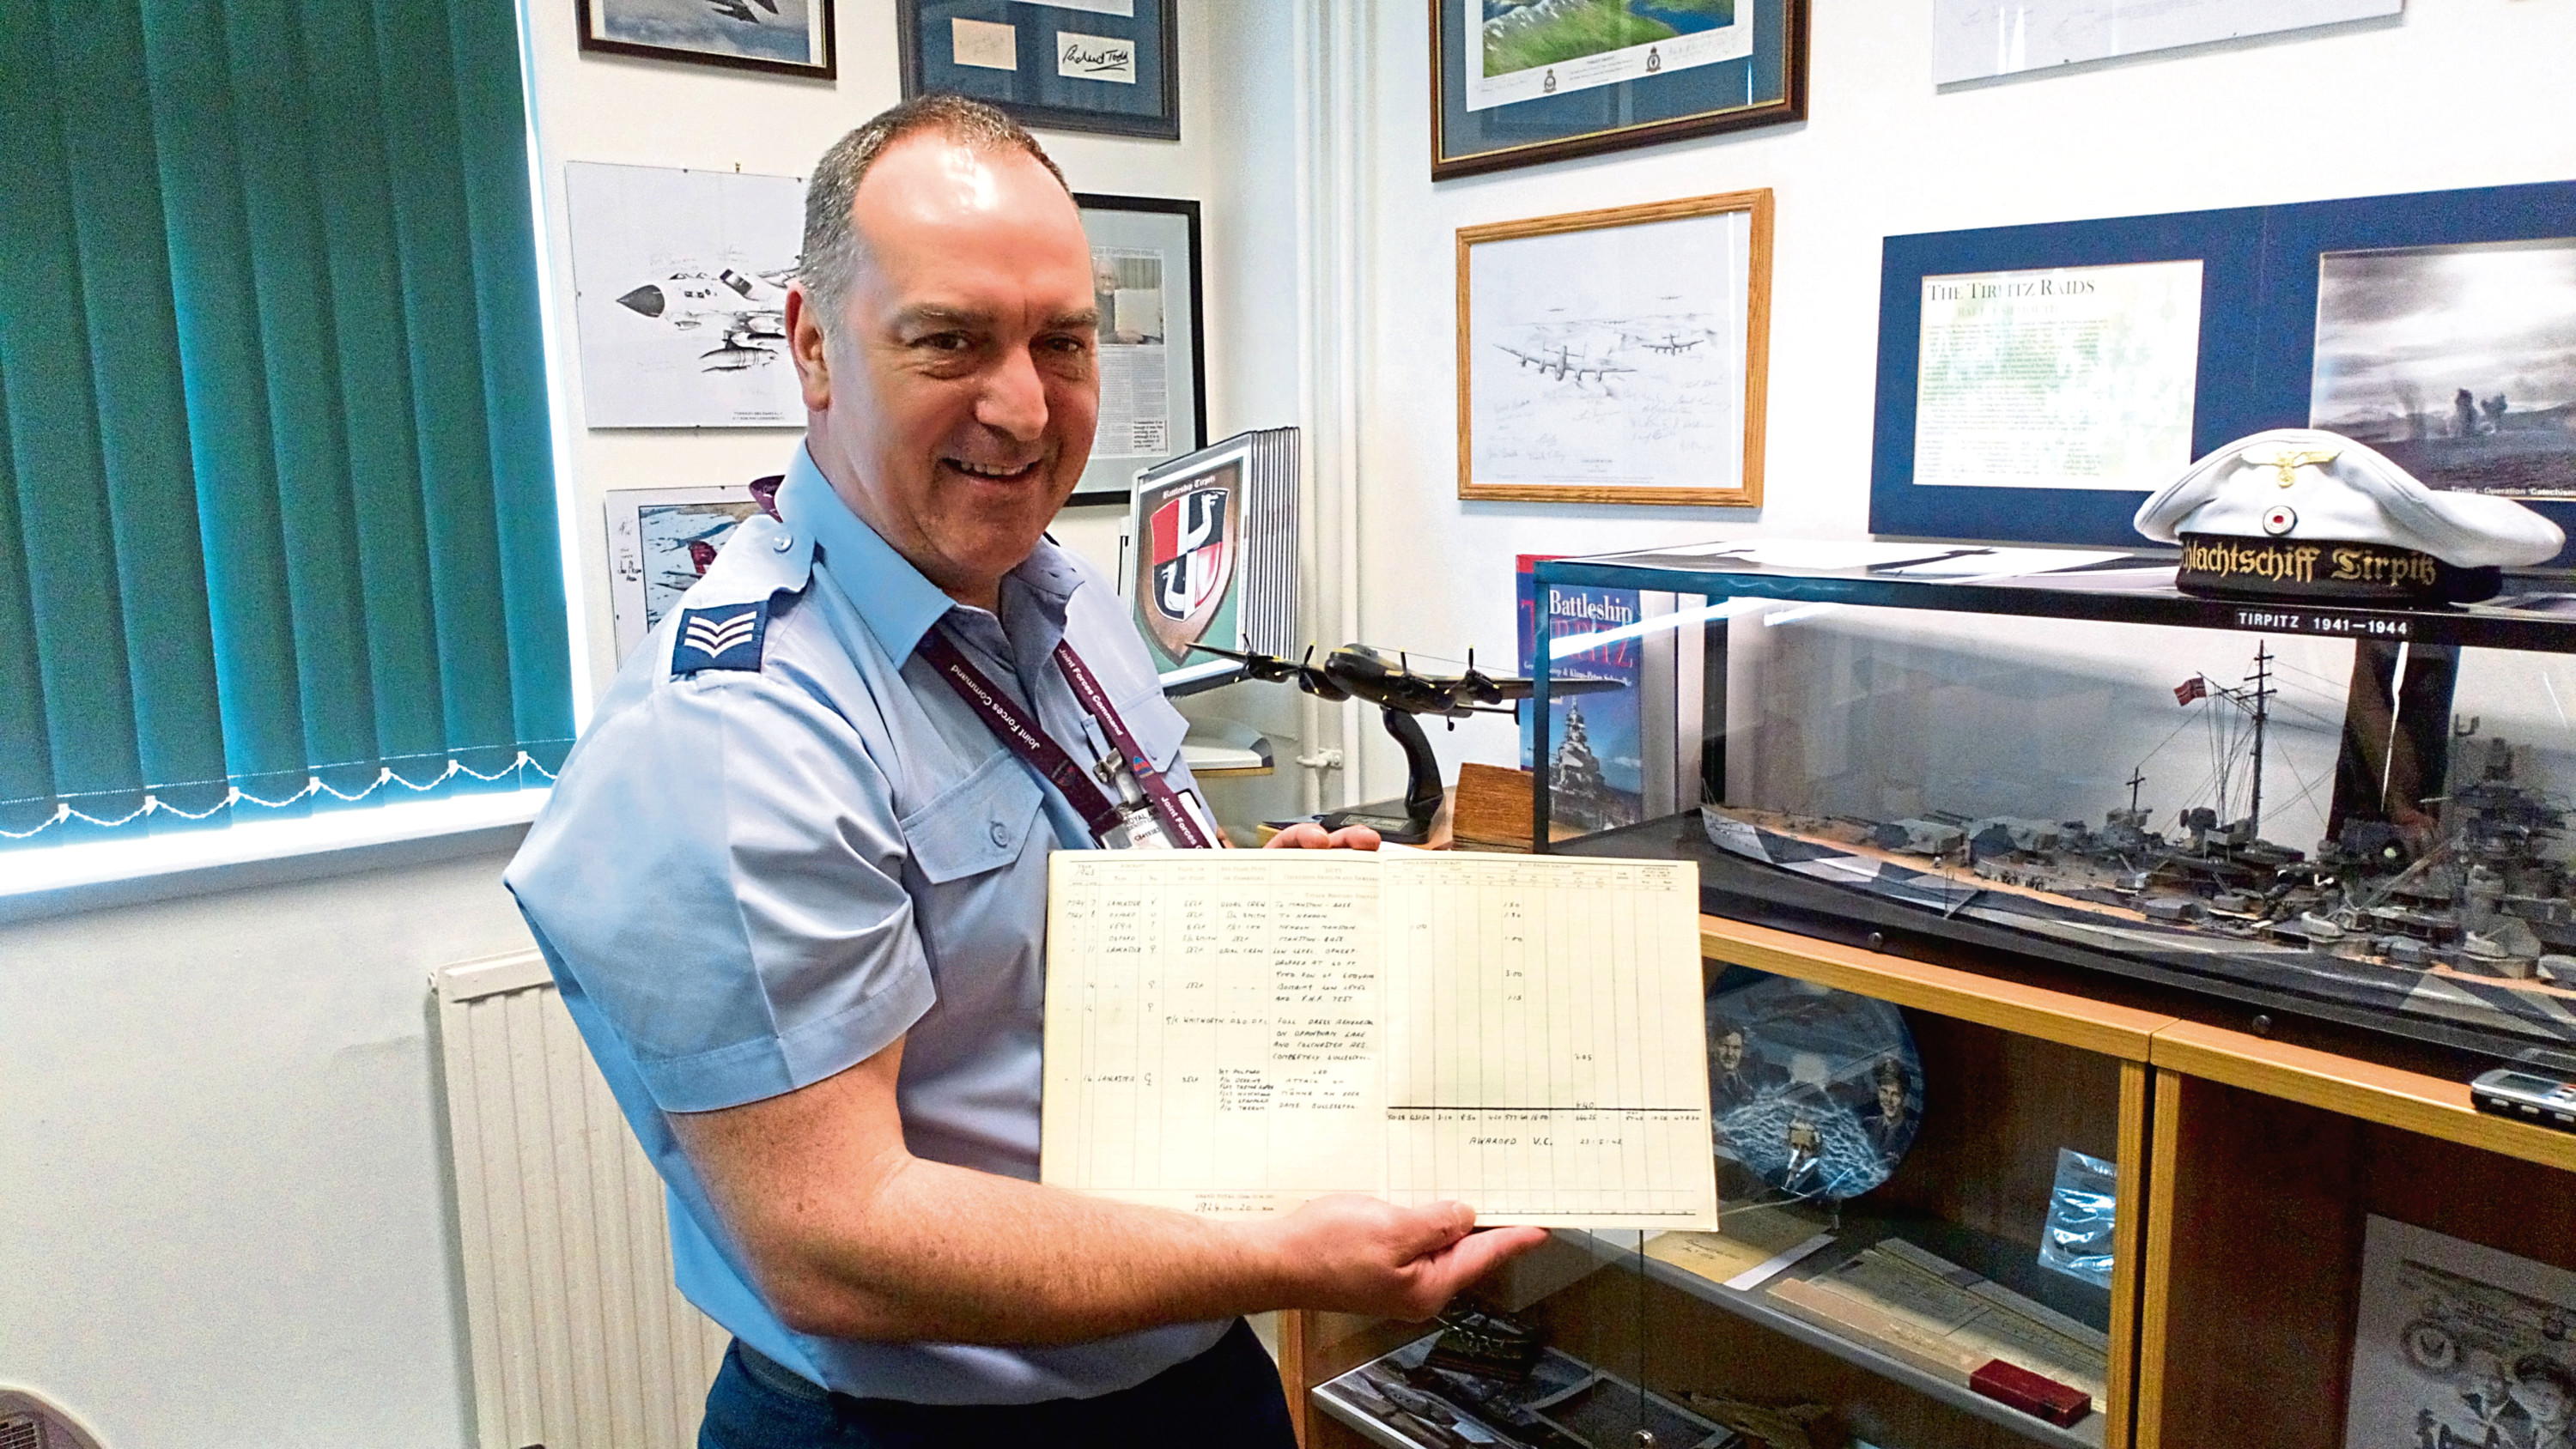
Sgt John Baxter is custodian of the centre, and his knowledge of the items on display is remarkable.
A keen historian, he’s one of a small group of volunteers, both military and non-military folk, who have pulled together the story of the Lossiemouth base, which officially celebrates its 80th birthday on Wednesday May 1.
John said: “At one time, these items were housed in a room simply referred to as the history room, which then faced the threat of being closed down.
“After discovering this, we constantly badgered the station commander to find a new place to house these items.
“Last year, we were offered this building, which has four rooms where we can display items relating to Lossie’s history.”
Objects have been donated over the years, some from the station itself and some from ex-personnel and members of the public.
Until the museum was created, lots of it was simply stuffed into boxes as they were unsure what to do with it.
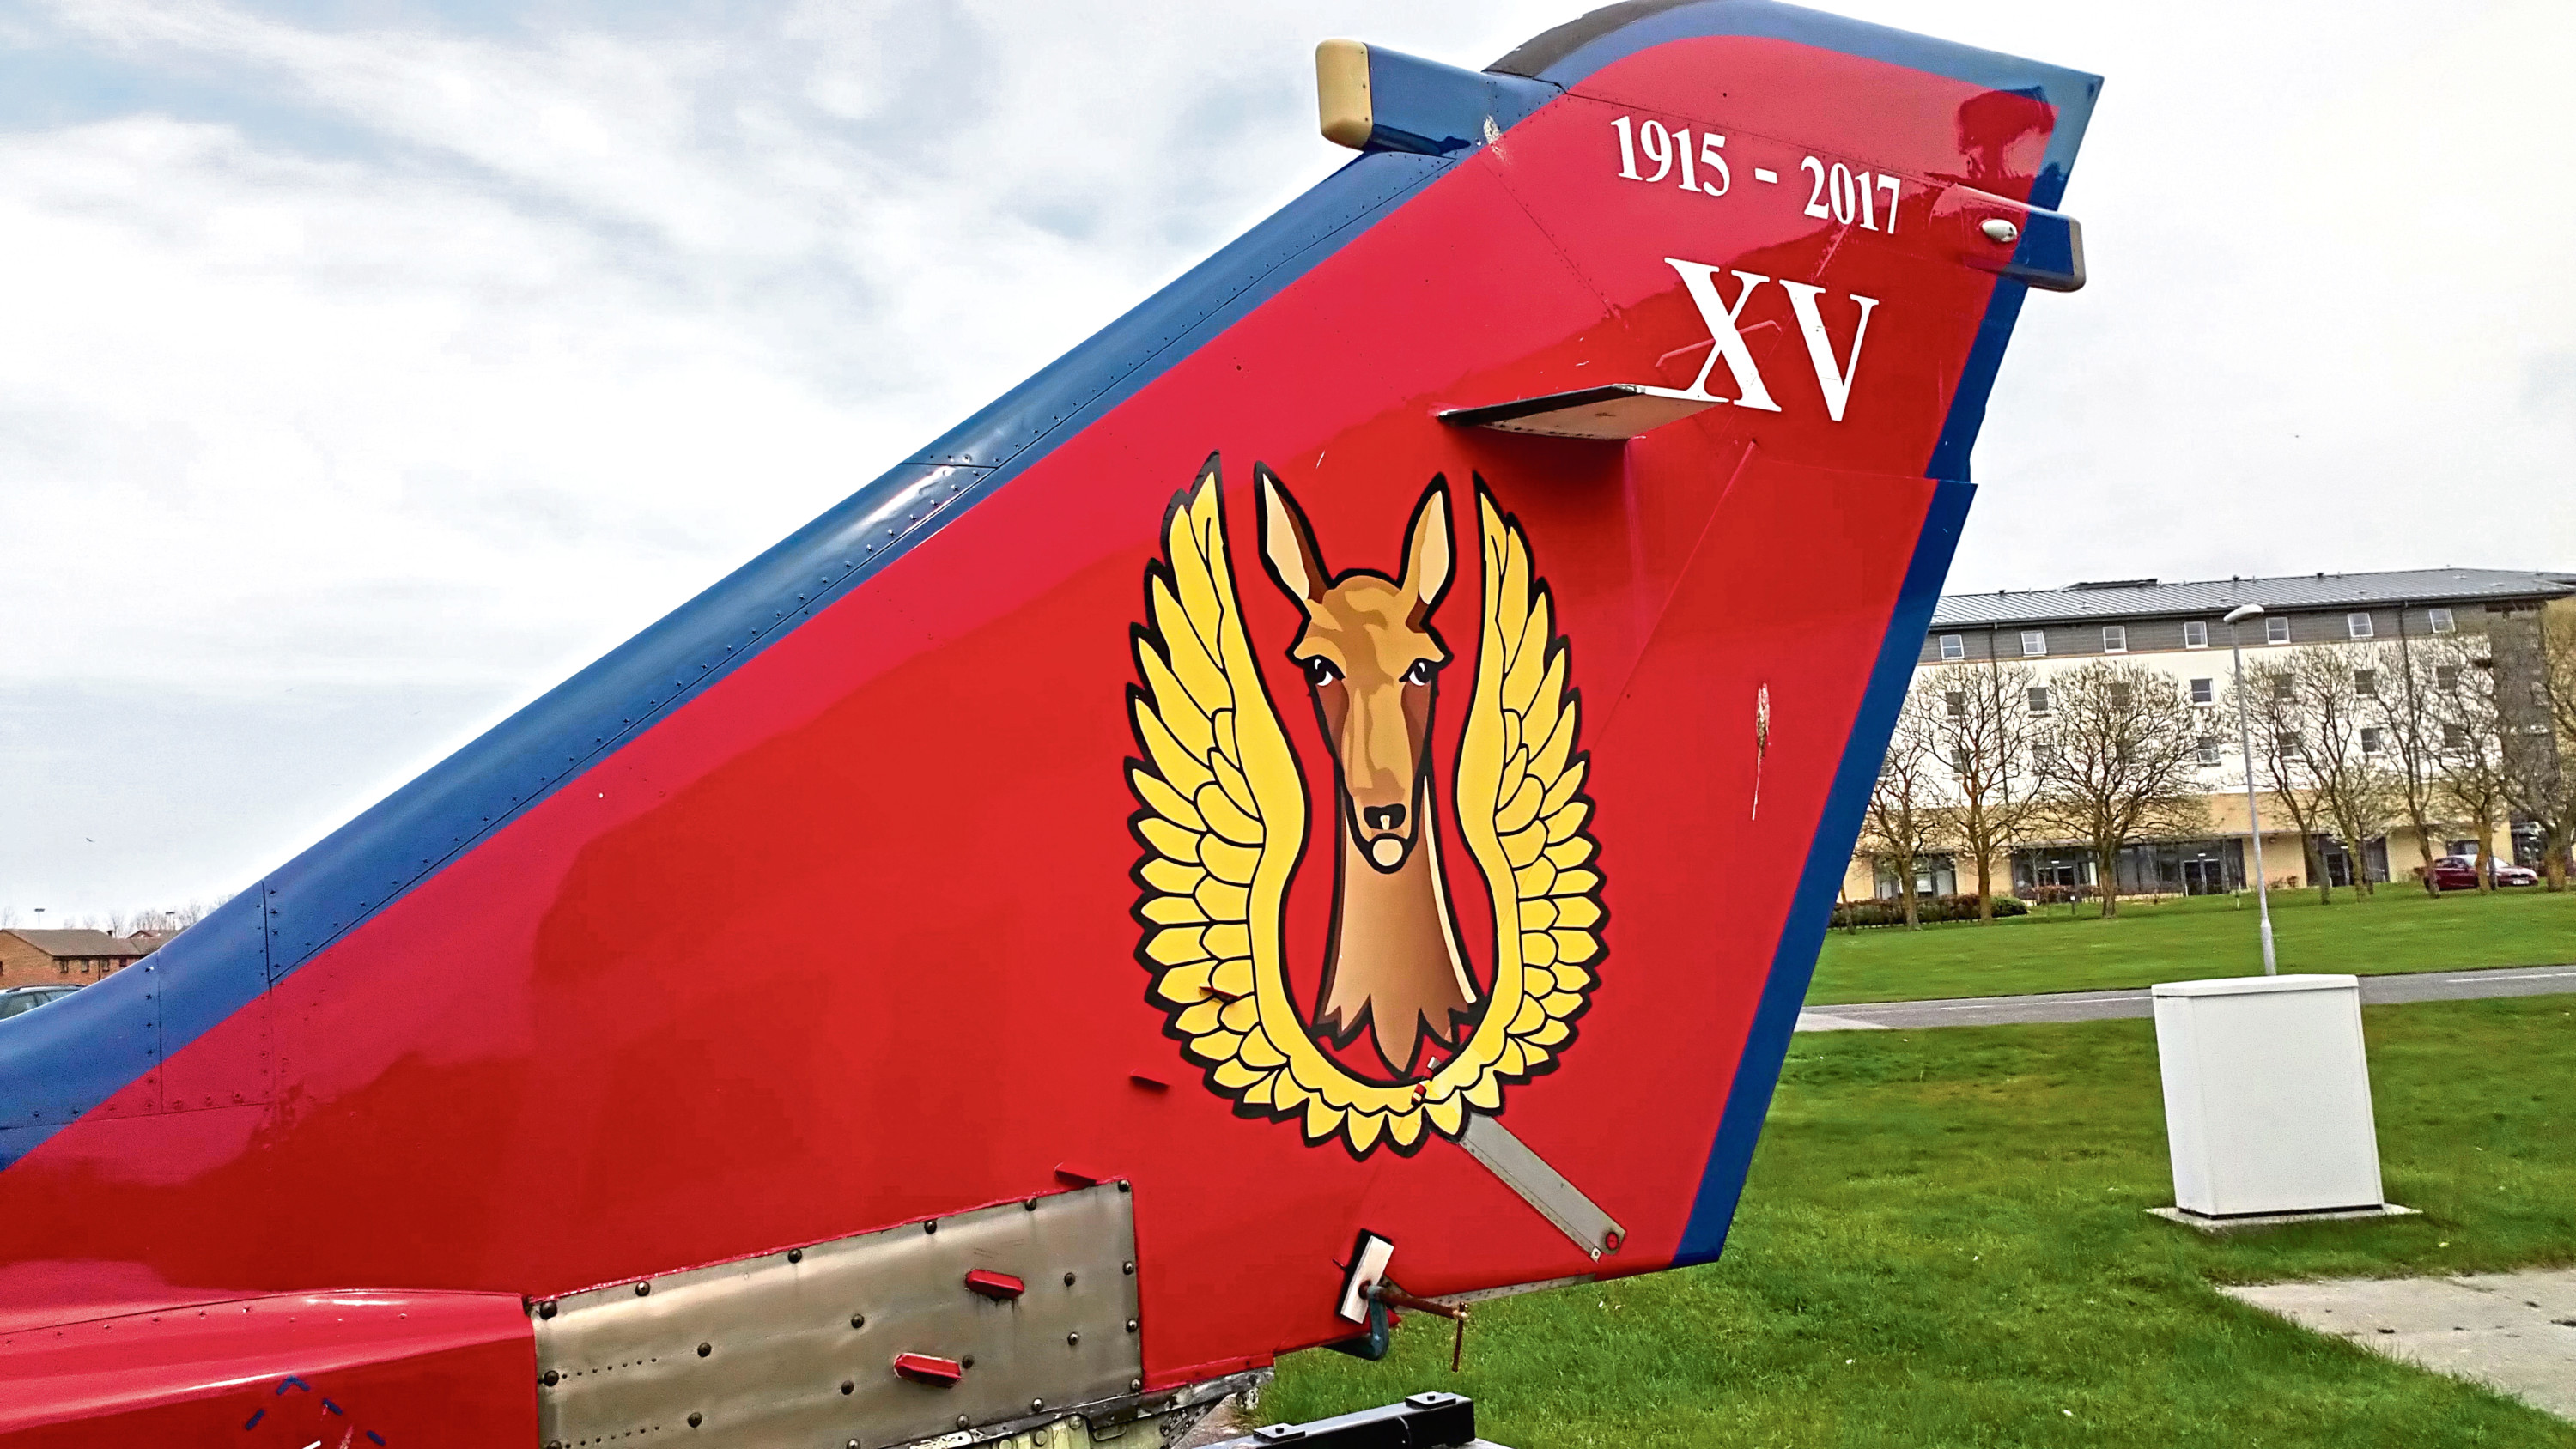
It’s easy to see the museum on the base, as directly outside it sits a large, brightly painted fin from a Tornado jet.
Immediately inside, there’s a wealth of items relating to the Second World War, ranging from colourful propaganda posters encouraging people to clear their plates and not waste food, to old cigarettes packets, such as Navy Strength, found under flooring of a hall used for dancing.
The first room tells the story of Lossie from 1939 to 1972.
“At the start of the war they realised the mild Moray climate made it an ideal place to build a base for training crew to fly Wellingtons and the base became an important part of Bomber Command,” said John.
“After the war, in 1946, it was handed over to the Royal Navy and the name changed to Royal Navy Air Service HMS Fulmar and remained that way until 1972 when the RAF came back.”
Items on display include old uniforms, newspapers with dramatic headlines, gas masks and photo albums filled with pictures demonstrating life on the base, which was also home to numerous WAAFs (members of the Women’s Auxiliary Air Force) and people of all nationalities.
“By the time the Wellingtons came to Lossiemouth, a lot of them had seen a lot of action elsewhere and were so old bits would fall off as they took off,” said John.
On one wall of this room a painting of a handsome chap in uniform caught my eye.
“That’s Captain Eric Winkle Brown who spent some time here,” explained John.
“He was quite a character. Born in Leith, he was in Germany when war broke out.
“The Gestapo came after him but he escaped and went on to become a test pilot and holds the record for flying more than 450 types of aircraft.”
Another hero highlighted in the museum is James Ward, who was awarded the Victoria Cross.
His story sounds like it comes straight from the pages of a boy’s own adventure book.
“He was in a plane when one of the engines caught fire,” said John.
“He tied a rope to his side, climbed out of the plane and put most of the fire out using his hands.
“His hands were left totally burnt but his actions saved the whole crew.”
The corridors of the heritage centre are covered in photographs of different aircraft in action, while a wide selection of photographs of people involved in both flying the planes and servicing them help bring the past to life.
In room number two, there are more artefacts and memorabilia including a couple of ejector seats and helmets which young or school-age visitors can try on to get a feel for what life as a pilot is like.
This room tells the story of the base after the RAF returned in 1972 when search and rescue helicopters, Shakletons, Jaguars, Buchaneers and Tornado jets flew from here.
A pictorial timeline shows you all the different types of planes that have flown from here over the years.
In the third room is where you’ll find the story of Barnes Wallis and famous Dambusters pilot Guy Gibson.
An exact replica of his log book makes for fascinating reading.
In pride of place, too, there’s a large model of the German battleship Tirpitz, sister ship to The Bismarck.
The Tirpitz, based in Norwegian waters, posed a grave threat to Allied shipping.
As the P&J revealed last week, former WAF, Ann Buchan, played a role in helping sink the ship.
In 1943, she was deployed to Moray as a communications operator for Number 20 Operational Training Unit, which flew Wellington bombers during the conflict.
Her job with the WAAF was the equivalent to a modern-day air traffic controller – using radios to communicate with aircraft in the immediate vicinity and those on short training flights.
During a guided tour of the heritage centre earlier this month, she revealed she had been on duty when the air force sunk the Tirpitz.
Ann said: “One Sunday afternoon, I think in late 1944 when I was on duty, I was told that there was a change from the usual routine.
“The WAAF corporal was plugged into the set and I would be too, though I would just be listening in.
“Two planes, I expect Lancasters from England, were to be taking off from Lossie to attempt to sink the German battleship Tirpitz, which was in a Norwegian fjord.”
Later that day, Mrs Buchan heard the bombers had inflicted damage to the vessel, but not enough to sink it.
It was another two years until she discovered that the mission from RAF Lossiemouth had indeed sunk it.
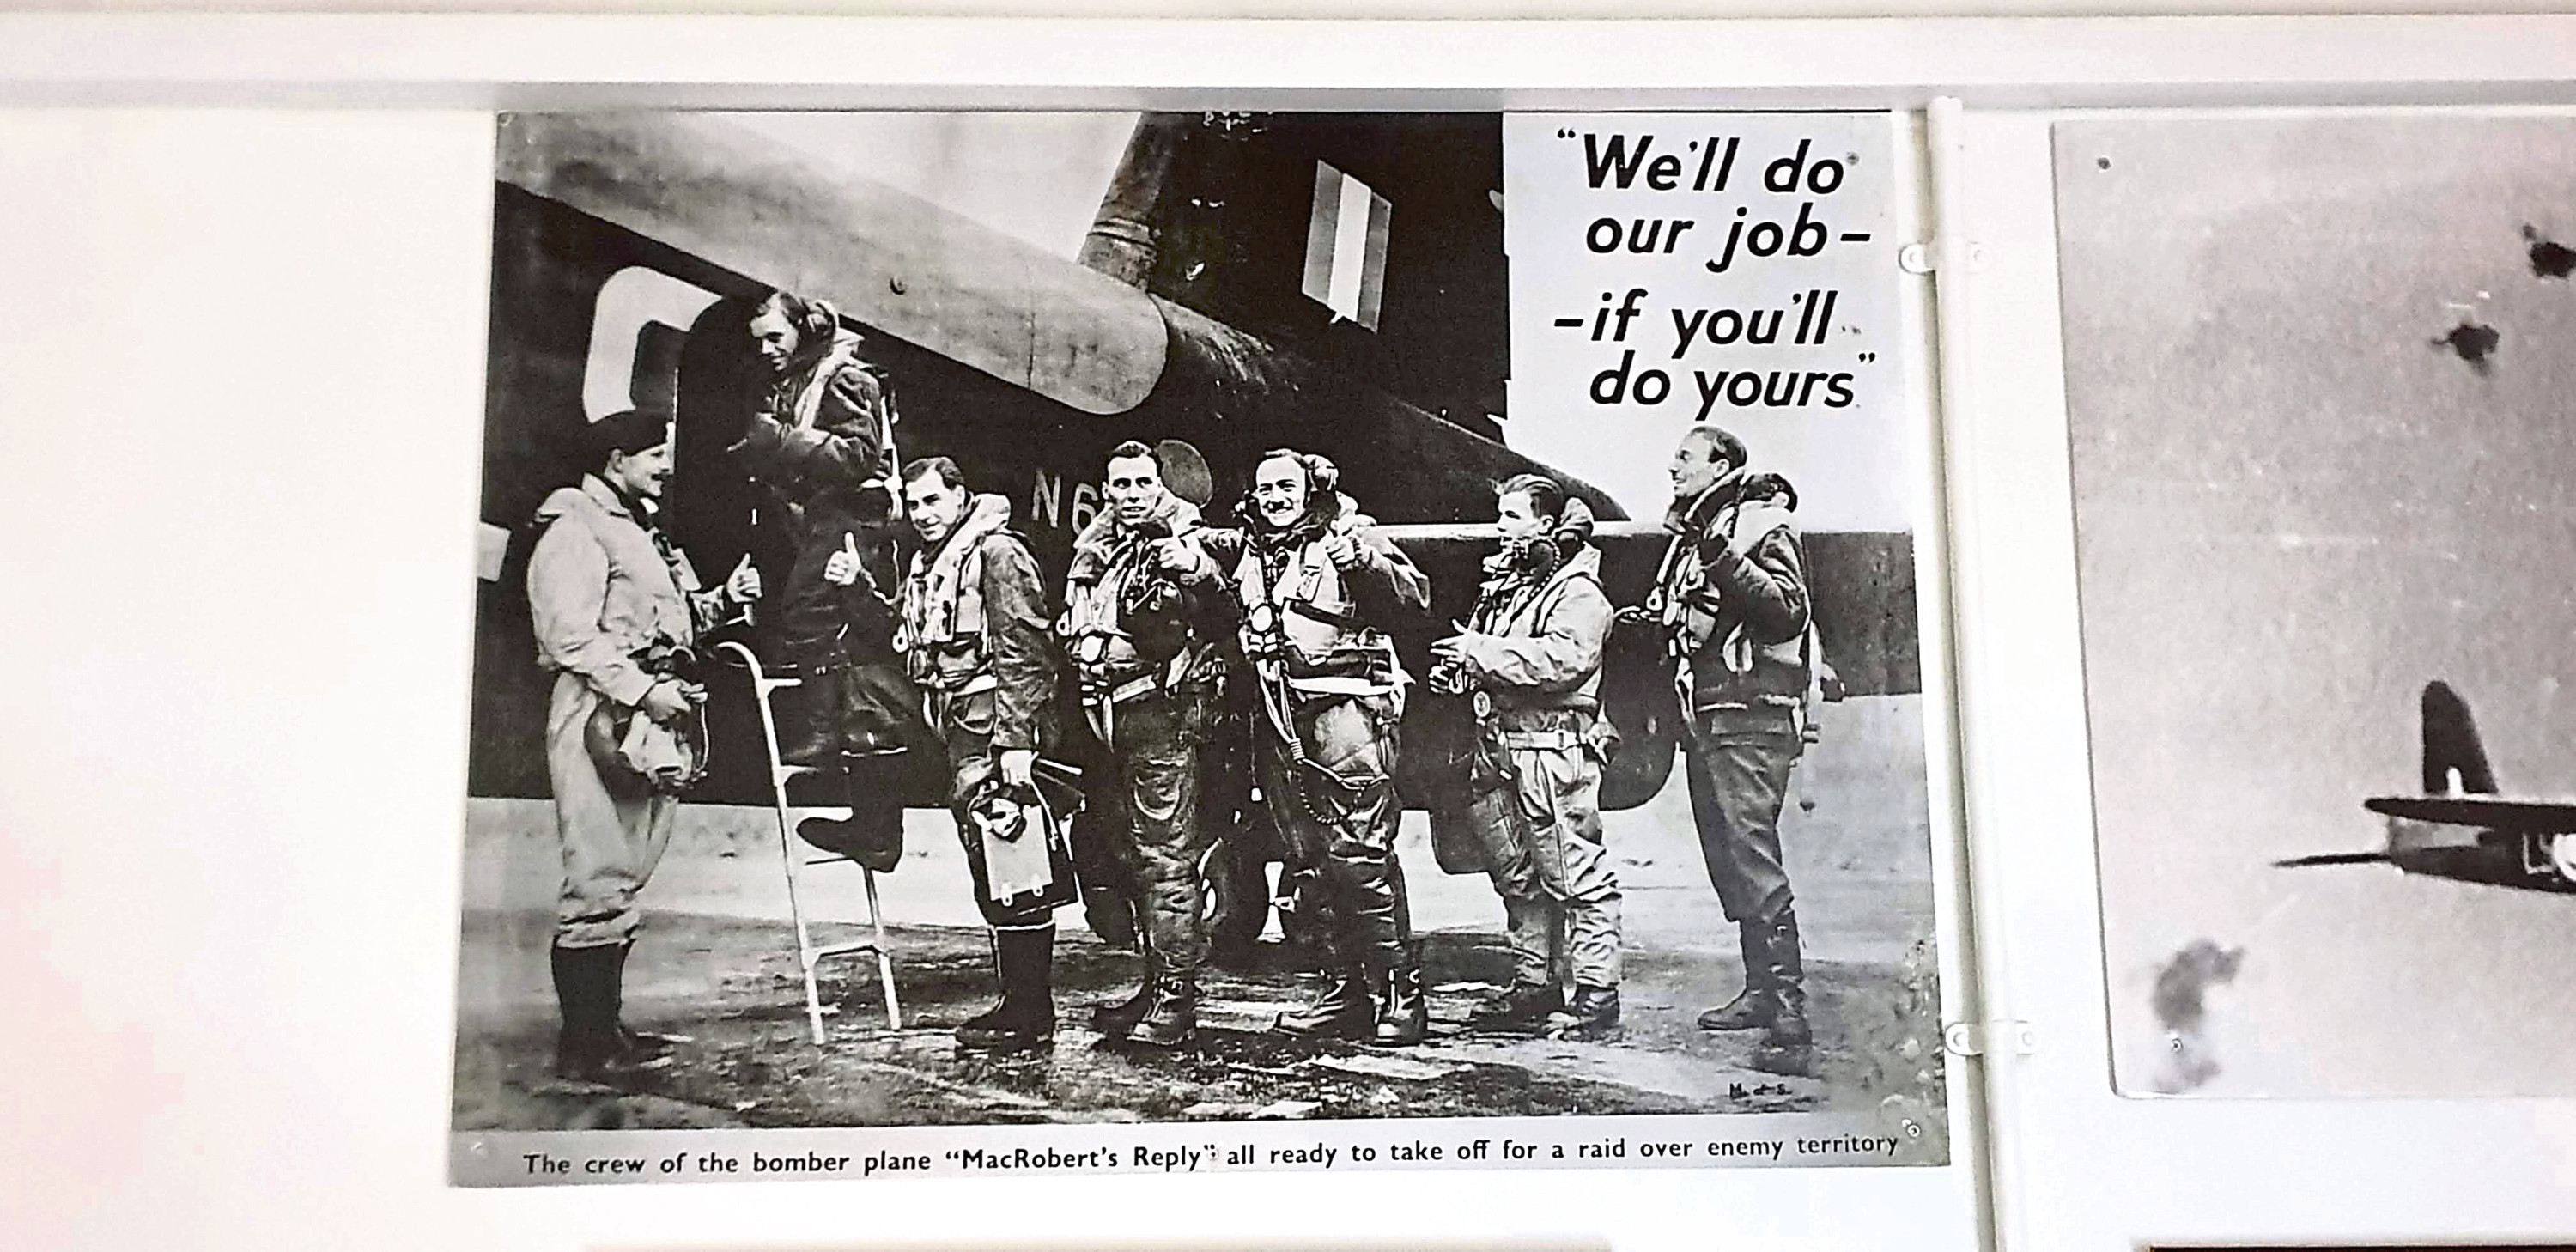
The final room in the heritage centre has strong links to Royal Deeside as it tells the story of Lady Rachel MacRobert, whose three sons were killed while flying.
Her response was to donate enough money to buy a bomber for the RAF which was named MacRobert’s Reply.
A fantastic black and white picture captures the moment just before the crew board before taking off for a raid over enemy territory and bears the words “We’ll do our job – if you’ll do yours”.
“We are hoping to expand this section, but again, that all takes time and the museum is still at the early stages,” said John.
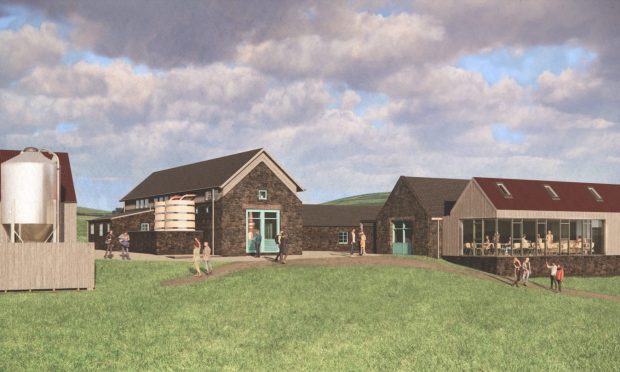
“Further plans include the creation of a reflective garden outside with a monument and seating area so veterans or relatives of those who served here have somewhere to sit and reflect on what they’ve seen in the museum.”
A fascinating museum, what makes it all the more special is that there will always be someone like John to share the stories behind the objects on display.
l Admission is free of charge – donations welcome – but advance booking must be made via email: LOS-HeritageFacility@mod.gov.uk