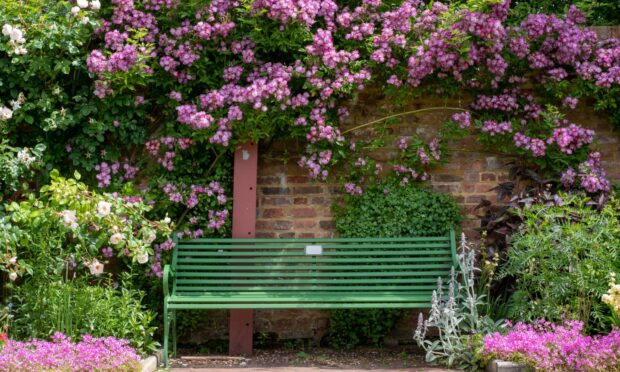
The weather is a British obsession and rightly so. It is so variable and changes drastically throughout the year.
The seasons have shifted. It has become evident from Indian summers; warmer, wetter winters; and snow typically being pushed back until February and March.
Consequently, many of our pre-conceived notions of gardening tasks have shifted forward or backwards.
The skill and knowledge to do these are still relevant but application of when to do them is requiring more intuition.
It is important therefore not only to learn what to do in the garden and how to do it but also WHEN to do it.

Too late?
Routine pruning of a rambling rose should take place in late summer. This is according to many online guides and books.
According also to such guides, late summer is defined as July to mid-August. We are now into late September so we are far too late to do it now right? Wrong.
The problem with these simplistic guides is that they aren’t standing there in front of your rambling rose.
They don’t see the sun beating down on you and the perfectly happy rose which is ready for that trim now.
Reading your own garden and conditions is important. I always take these ‘guides’ (helpful as they are) with a pinch of salt.
They are like expiry dates on food, it may say use by ‘X’ but I always trust my nose over a stamped date which guesses when it will go off.

When to prune
A rambling rose typically flowers on last year’s growth. This means that as soon as it is finished flowering you should prune it back in order to give it the maximum amount of time to develop new shoots which bear next year’s flowers.
This is different to many roses like hybrid teas or floribundas which flower on this year’s growth.
These types are pruned back in spring to produce the new shoots that bear this year’s flowers.

If we prune a rambling rose in spring then we have just taken away all the stems that will have flowers meaning you’ll have none.
Some people delay pruning their rambling rose after flowering to allow the hips to develop.
The colourful hips will feed the birds. You can then prune the rambling rose as normal after the hips are over.
This is the stage were are at now. The rambling rose I pruned in episode 19 of Beechgrove Garden this year had finished flowering but had not yet developed hips.

I pruned this at that time because the particular Rosa ‘Goldfinch’ did not especially bear notable hips and the birds had more than enough other food choices in the garden.
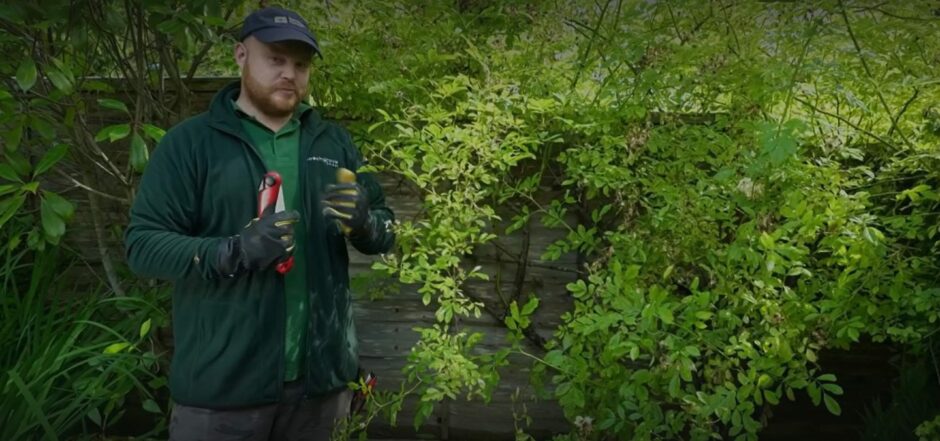
If you haven’t touched your rambler at home though, then fear not. Just now is still a great time to get it pruned. Here’s how.
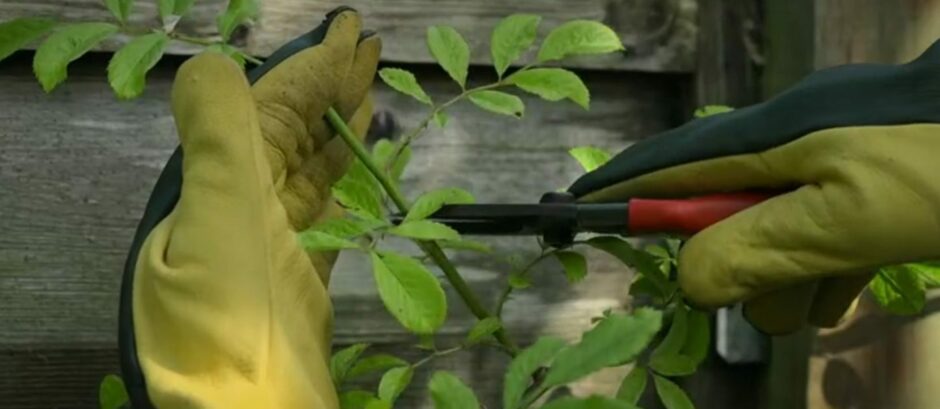
How to prune
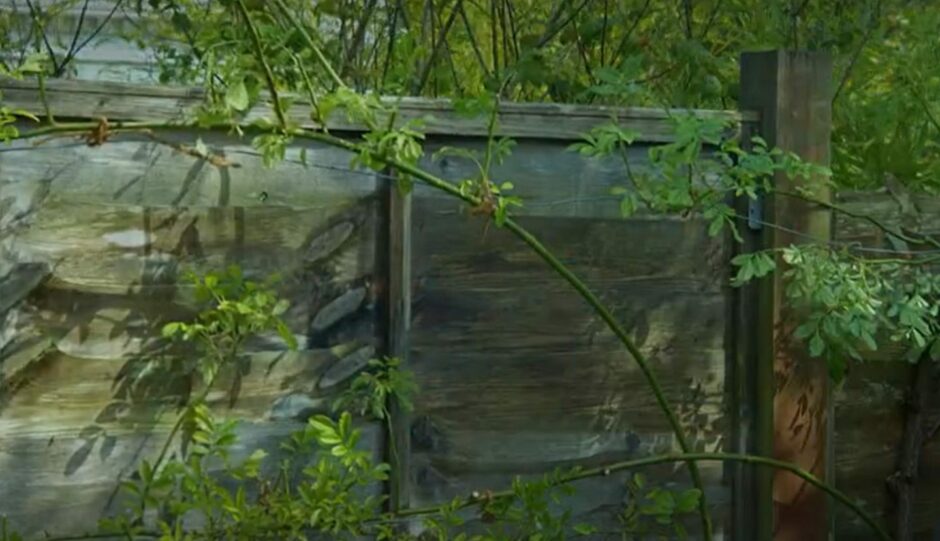
Don’t be intimidated by the messy, mass of stems. By going through the pruning step by step we can transform it from a tangled triffid into an unrecognisably neat and tidy structure that will be full of flowers next year.
Firstly we should remove one third of the oldest stems. Try to visualise the overall shape and structure you want to achieve.
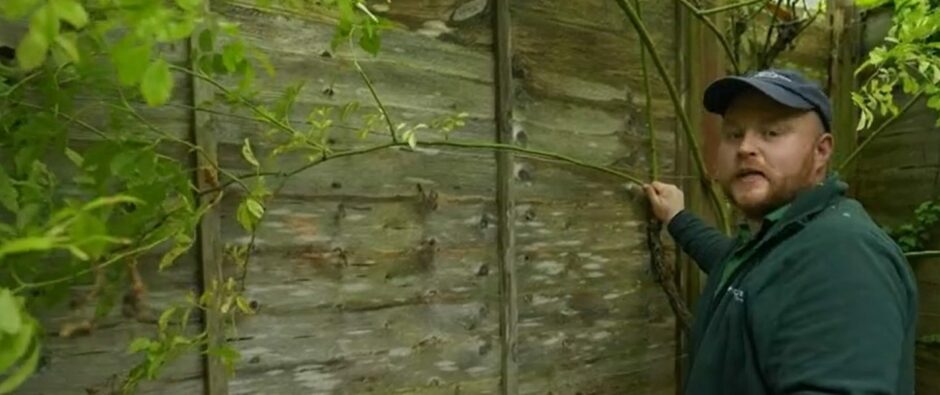
You ideally want an open, spread-out, fan like structure that fills the space you have available.
Look at base of the rose and remove a third of the stems that are least healthy/productive (i.e. providing the least fresh new stems higher up) or perhaps have stems that overly clustered and if removed will allow others to make better use of the space.
After removing these stems the rose will look far less clustered. The next step is to remove any dead, diseased or damaged stems.
Ideally this is done in tandem with step one by giving the overall rose a bit of consideration before starting.
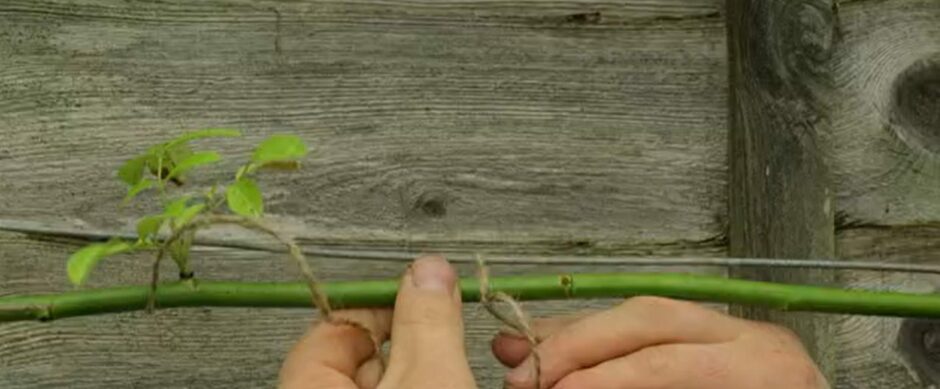
After this we start tying in the new shoots. Use a figure of eight loop with the string so the stems aren’t rubbing against the wire.
Rubbing can lead to wounds which then allow disease to enter. There will be new shoots from this year that require tying in to help form that lovely structure we wish to achieve.
There may now be gaps from where we removed the old stems. The gaps can have the pliable, young stems tied in to become new main shoots.
These main shoots will develop the side shoots which will bear flower buds. After this, the last step is to cut back all those long whippy new side shoots which haven’t been tied in.
These are cut back to four sets of leaves from the base where it grows out from the main stem. Et voila, next year’s rambling rose will be magnifique!
Take care and happy gardening.
Conversation