East and West Lomond, Fife
The Lomond Hills offer a variety of fine walk options which can suit mood and inclination, weather conditions or simply time restrictions.
On a day of long light and settled conditions however, the three peaks challenge of East and West Lomond with Bishop Hill tagged on to complete the circuit is the jewel in the crown.
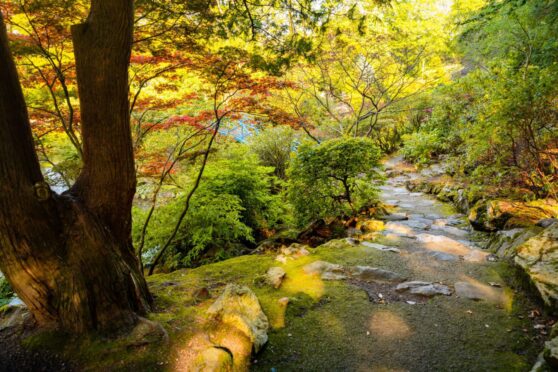
There’s a little bit of everything thrown in here: rugged hill paths to summits with expansive views, delightful woodland walking and open countryside dotted with the sparkling blue of a series of reservoirs.
My preferred start point is Falkland, a picturesque wander through the streets providing a fine introduction to the day’s proceedings. The wooden flight of steps that leads steeply through the trees to the open slopes of East Lomond always raise a sweat, but the upside is that it already feels like the majority of the hard work is done.
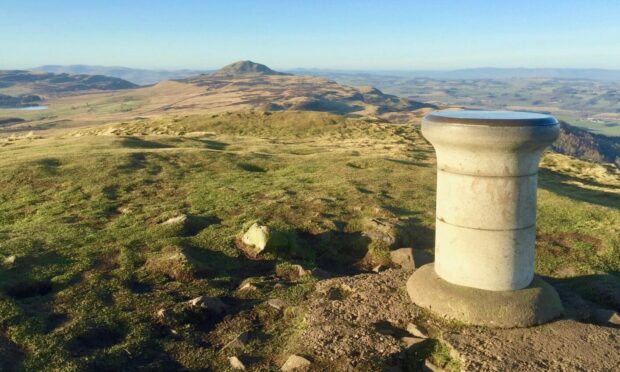
From the summit, the twin peak of West Lomond is an irresistible lure, and even if you are only planning to do East Lomond the circuit route down heads that way anyway.
Despite the obvious path, the descent needs care when wet, but after the initial steep gradient the walking becomes simple over to the central point of Craigmead car park.
With picnic tables and toilet facilities, this is a handy spot to take a short break before resuming the route.
The track over to West Lomond is straightforward, but there is a choice for the final assault on the hill.
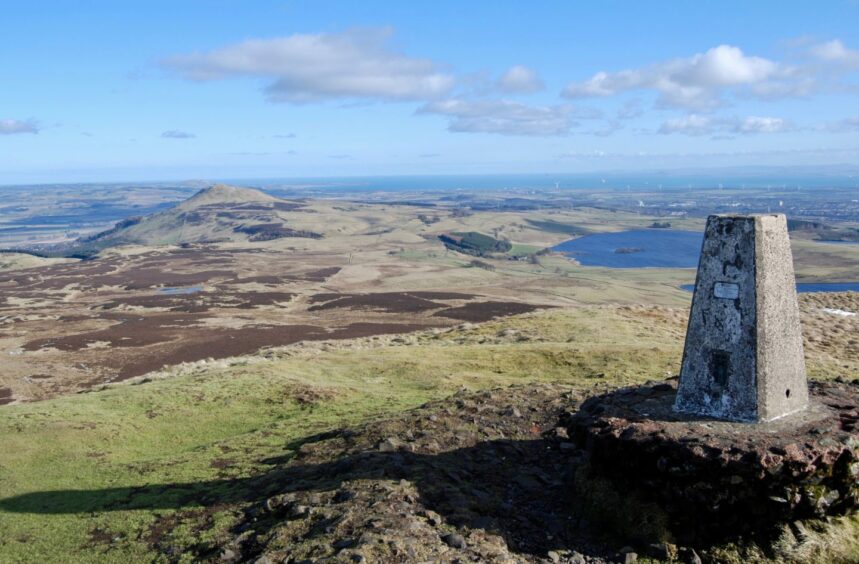
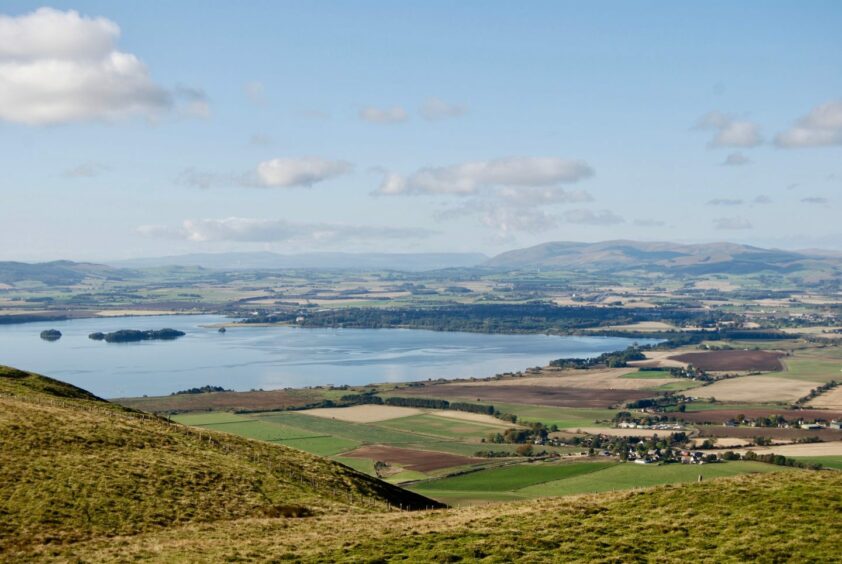
One path goes off right across the side of the hill for a more ambling approach, while another takes a shorter, more direct line straight up the front. The views are again special, a clear line across a patchwork of greens, browns and blues to East Lomond, and over Loch Leven to the distant Ochils.
The drop towards the track running up Glen Vale is again steep at first, passing to the left of the bouldered chaos of The Devil’s Burdens and then down through the heather.
It’s worth taking five minutes to go off piste for a closer look at these strange formations.
They are said to have been the result of the devil throwing rocks at a local witch, Carlin Maggie, who had been taunting him. He later turned her to stone, a pillar which sits on the lower slopes of Bishop Hill where she must remain until wind and weather set her free.
The path to Bishop Hill starts off muddy and sometimes faint, but improves with height. There’s a few twists and turns before the summit cairn is reached.
Although the three peaks have now been bagged, don’t be fooled into thinking that’s all the uphill work done for the day – there are still some surprise stings in the tail.
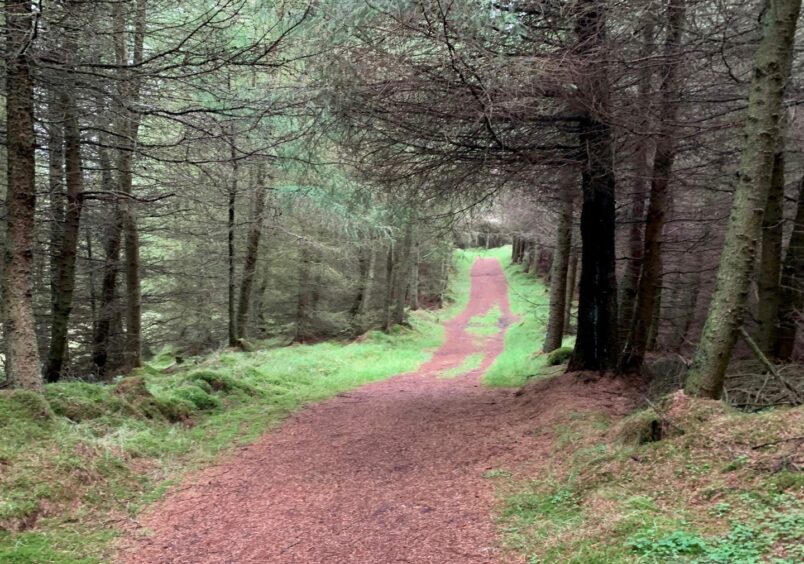
There’s a bit of respite on the track between the trees on the lower edge of Munduff Hill, but the way back through Harperleas Wood requires a bit more ascent as it rises to a height of 318 metres and some parts of the track are very muddy. After several days of rain the waterlogging could be severe.
Once out of the woods, the going becomes easier, a combination of farm tracks, minor roads and well maintained paths leading all the way back to Falkland.

ROUTE
1. Walk south past housing, continue on track marked Footpath to East Lomond. Keep right at fork to climb past waterworks, go straight ahead at next junction to reach long flight of wooden steps.
2. Above treeline, go through gate and join path running across hill to reach stile. Cross and make steeper climb to summit.
3. Drop steeply south-west on path to fence. Cross to head W on track descending to Craigmead car park.
4. Take path at back of car park, go through metal gate and bear left on grassy track which soon joins another track. Path then splits, ignore branch going across side of hill and take one heading steeply uphill to summit.
5. Descend south to pass rock formation known as The Devil’s Burdens to reach track which runs west/east in Glen Vale.
6. Follow path heading uphill, faint at times, which turns west and then climbs to the summit of Bishop Hill.
7. Head south at first on path then go left heading for track through lower reaches of wooded Munduff Hill and continue past West Feal before turning left at signed path.
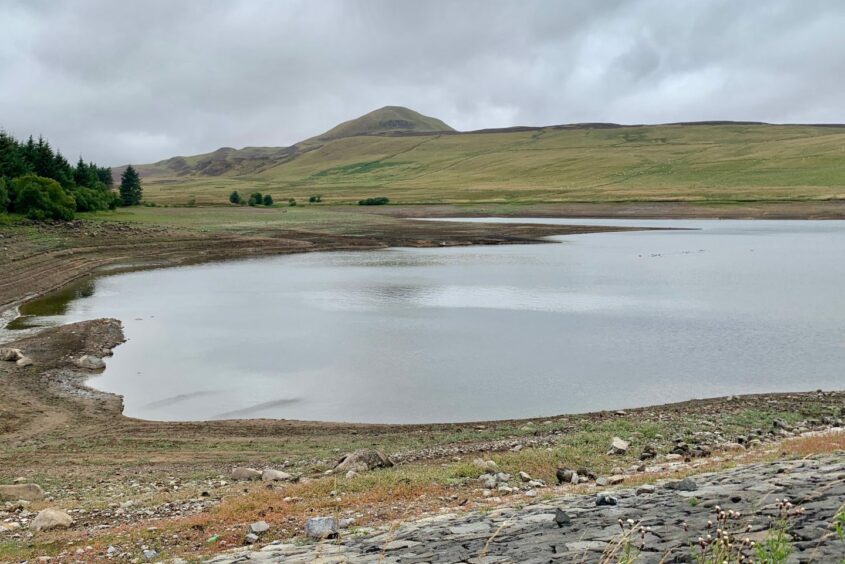
8. Take track across open ground to enter Harperleas woodland and follow twisting path for about 2.5km through the trees eventually heading right to exit for track going right to Harperleas Reservoir. Walk along dam wall then uphill to farm track.
9. Turn right on track past Little Ballo farm entrance and then left on tarmac road down to Craigmead. Stay right of car park on road, go through metal gate on left then fainter right-hand fork through field (signed Path to Falkland).
10. Go through another gate and keep left at next fork, then follow path over series of little bridges to eventually meet track to emerge at House of Falkland. Bear left then turn right to head back into Falkland.
INFORMATION
Distance: 22km/13.75miles
Ascent: 886m/2905ft
Time: 6-8 hours
Grading: Long but rewarding circuit of three fine peaks on good hill and woodland paths, suitable for
walkers with good level of fitness although can be easily shortened to suit individual abilities. Muddy in
places, sturdy footwear recommended. Farm livestock and ground nesting birds – dogs under close
control. Plaese remember to shut all gates. Toilet facilities at Craigmead.
Start/finish: Back Wynd car park, Falkland (Grid ref: NO 252058). No parking charges.
Map: Ordnance Survey 1:50,000 Landranger Maps 59 (St Andrews) and 58 (Perth & Alloa); 1:25,000
Explorer sheets 371 and 369.
Tourist Information: VisitScotland, St Andrews iCentre, 70 Market Street, St Andrews, KY16 9NU (Tel
01334 472021).
Public transport: Regular bus to Falkland on Perth-Glenrothes route (service No.36).

Conversation