Bad property photos are so ubiquitous that there are even blogs dedicated to them, but you don’t have to be a budding David Bailey to take great pictures that will show your property off to its best advantage. Want to take photos that will have buyers begging to put an offer in? Take a look at these top tips from TV property expert Sarah Beeny – owner of online estate agent Tepilo – and photographer Paul Clarke.
STEP ONE
It might sound obvious, but tidy up. A good dust, vacuum and sweep of all surfaces and your home will look instantly better.
STEP TWO
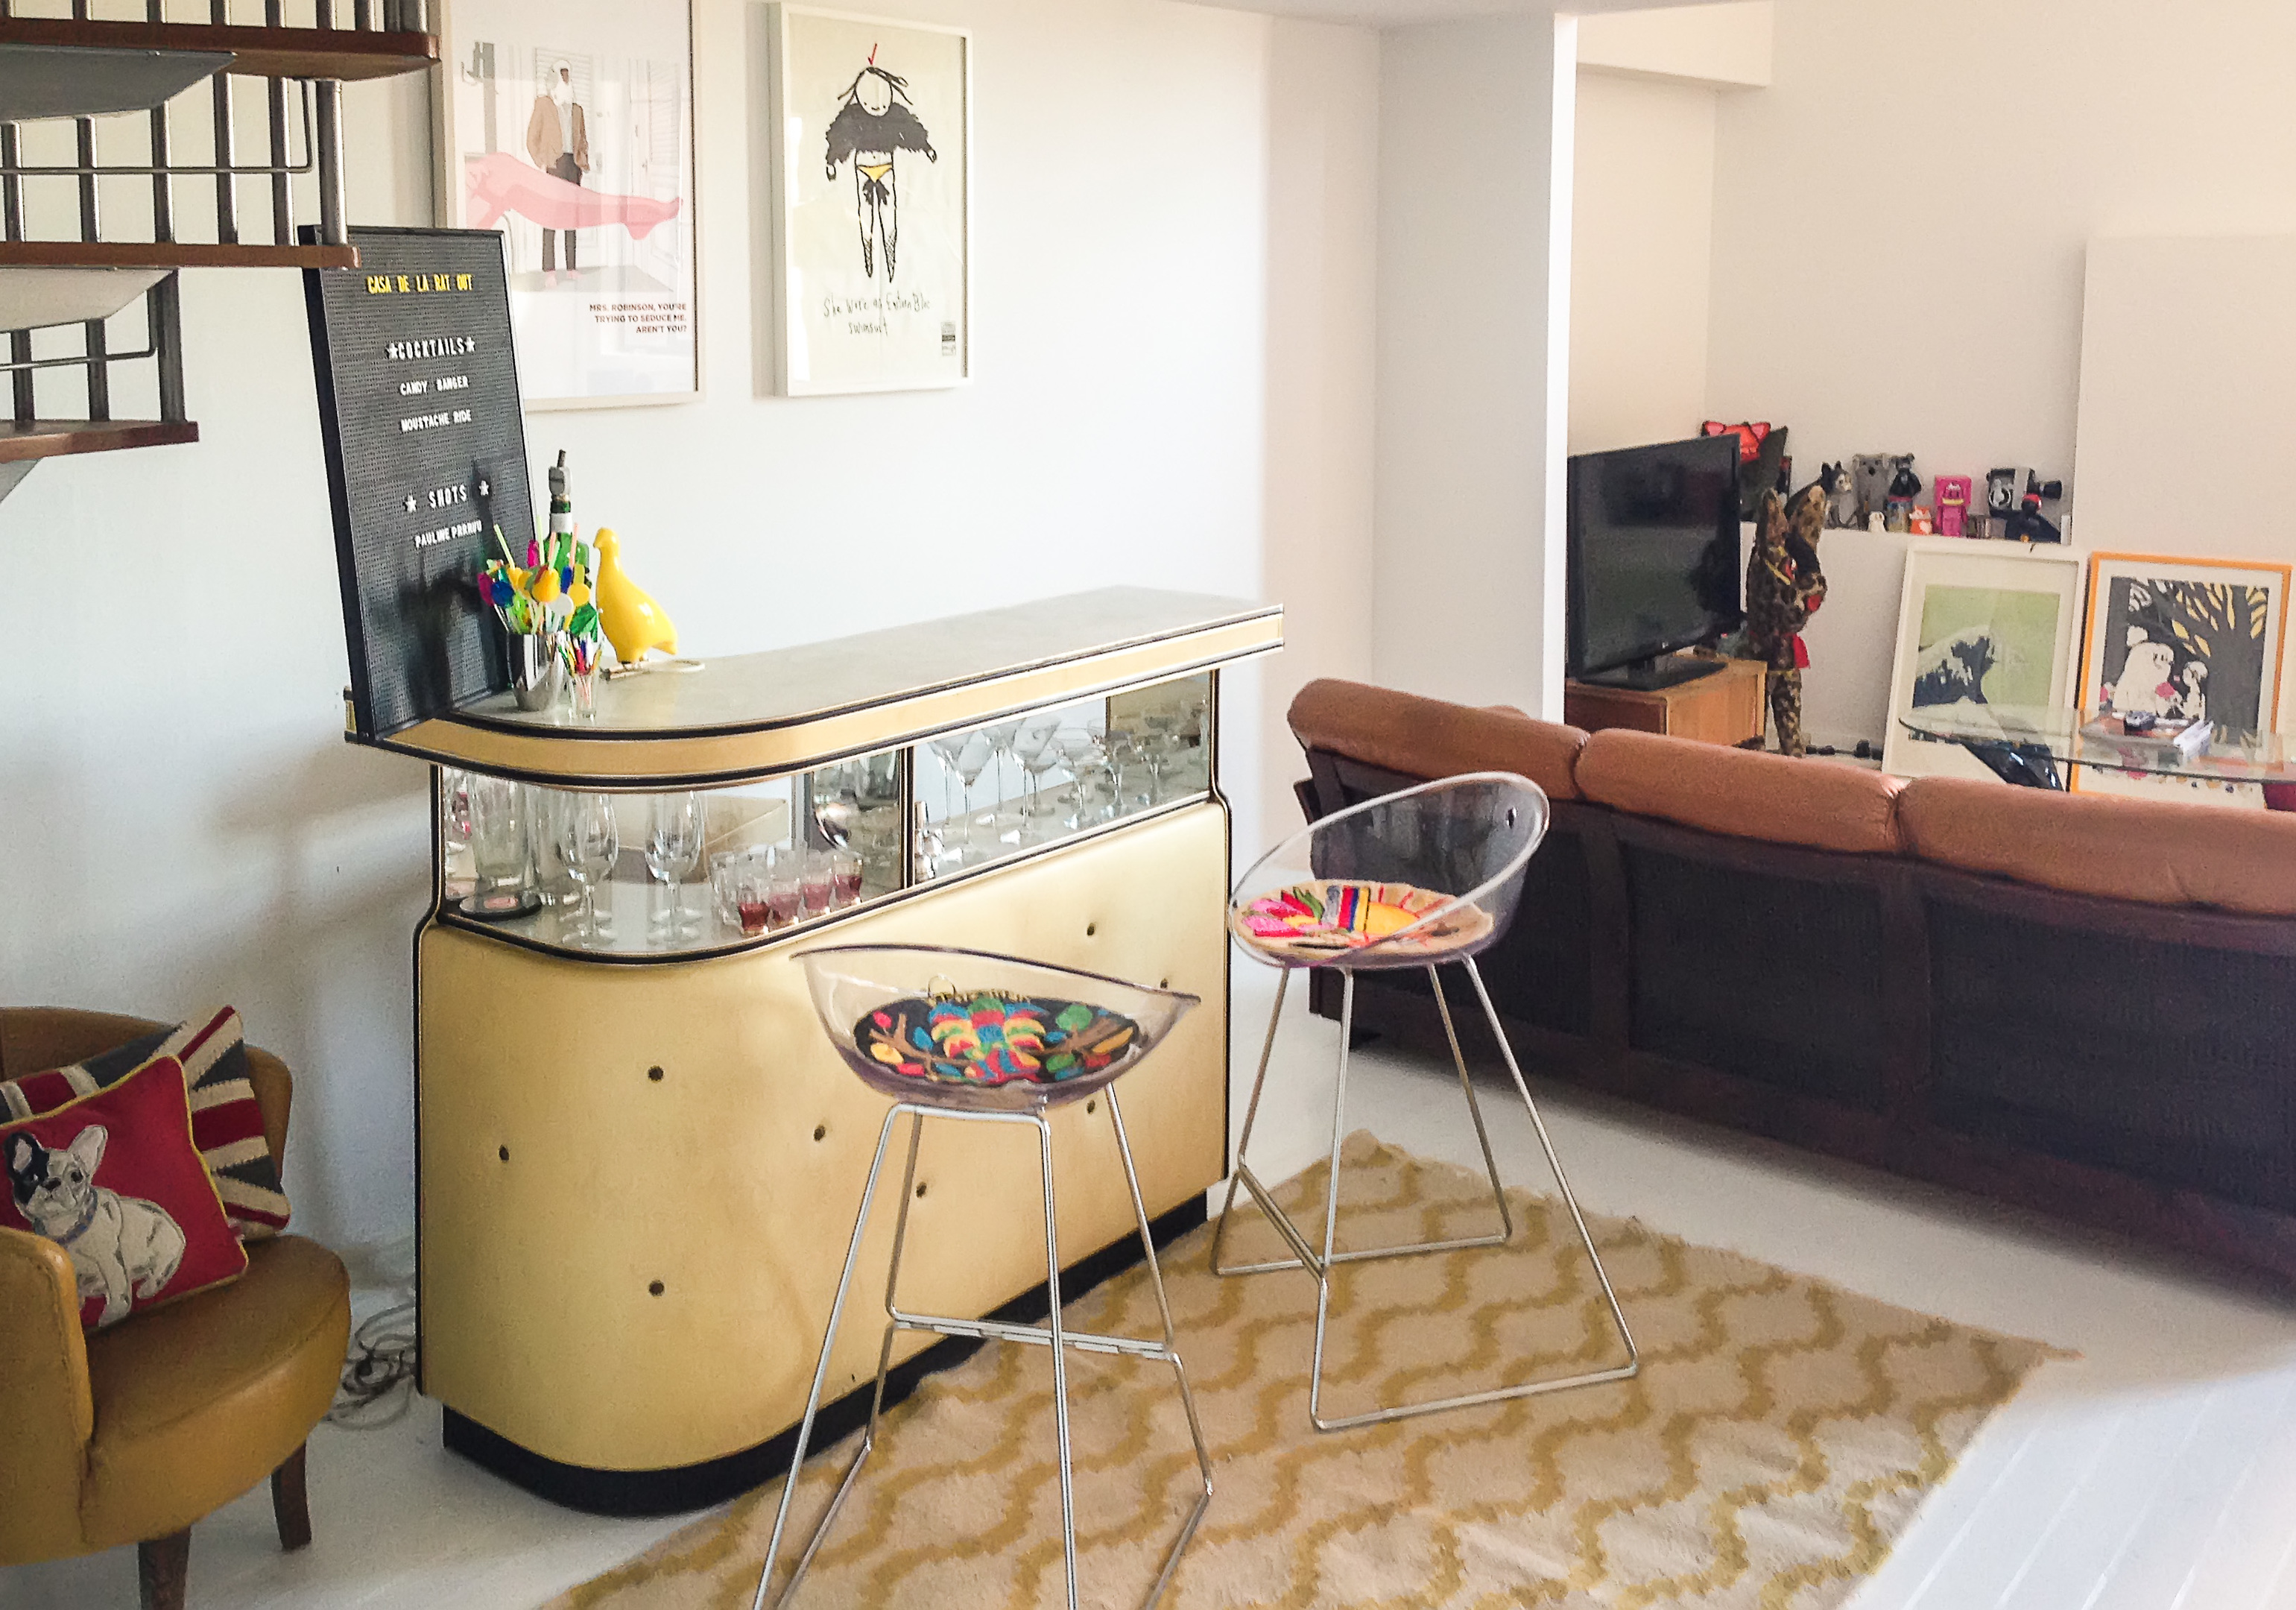
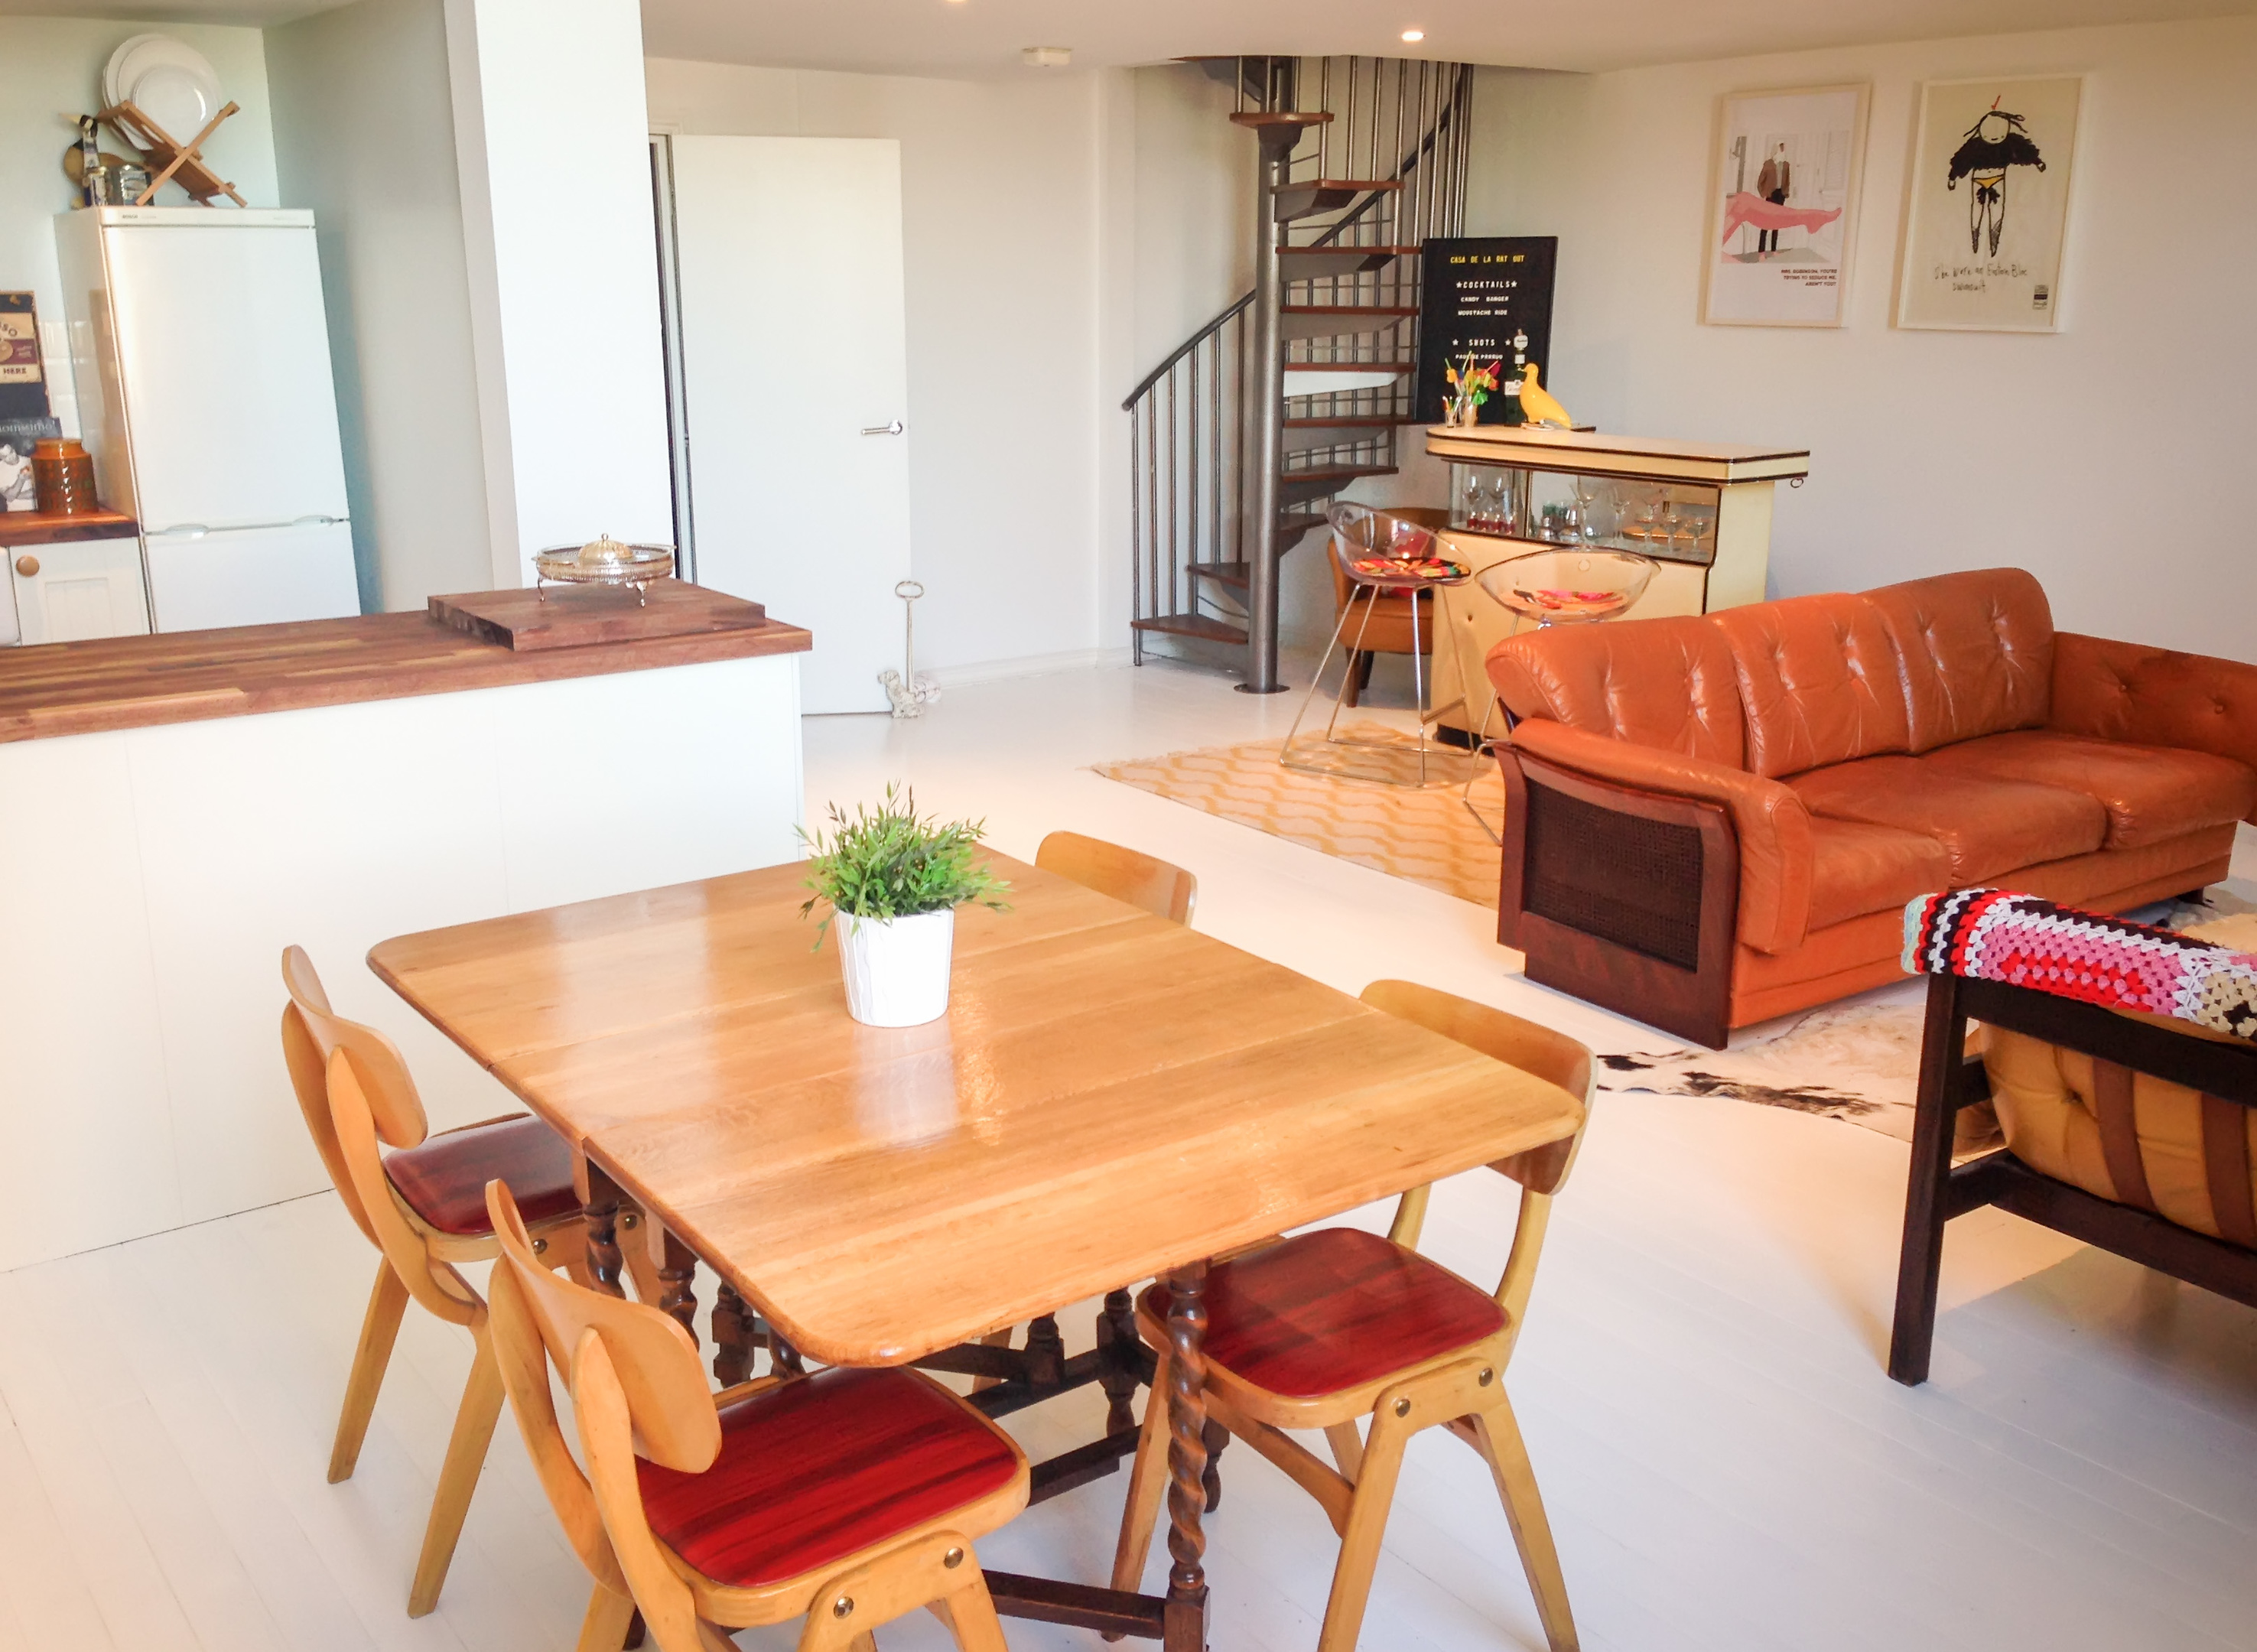
This can be tricky, but look at your home with a dispassionate eye. Does it look too “busy”?
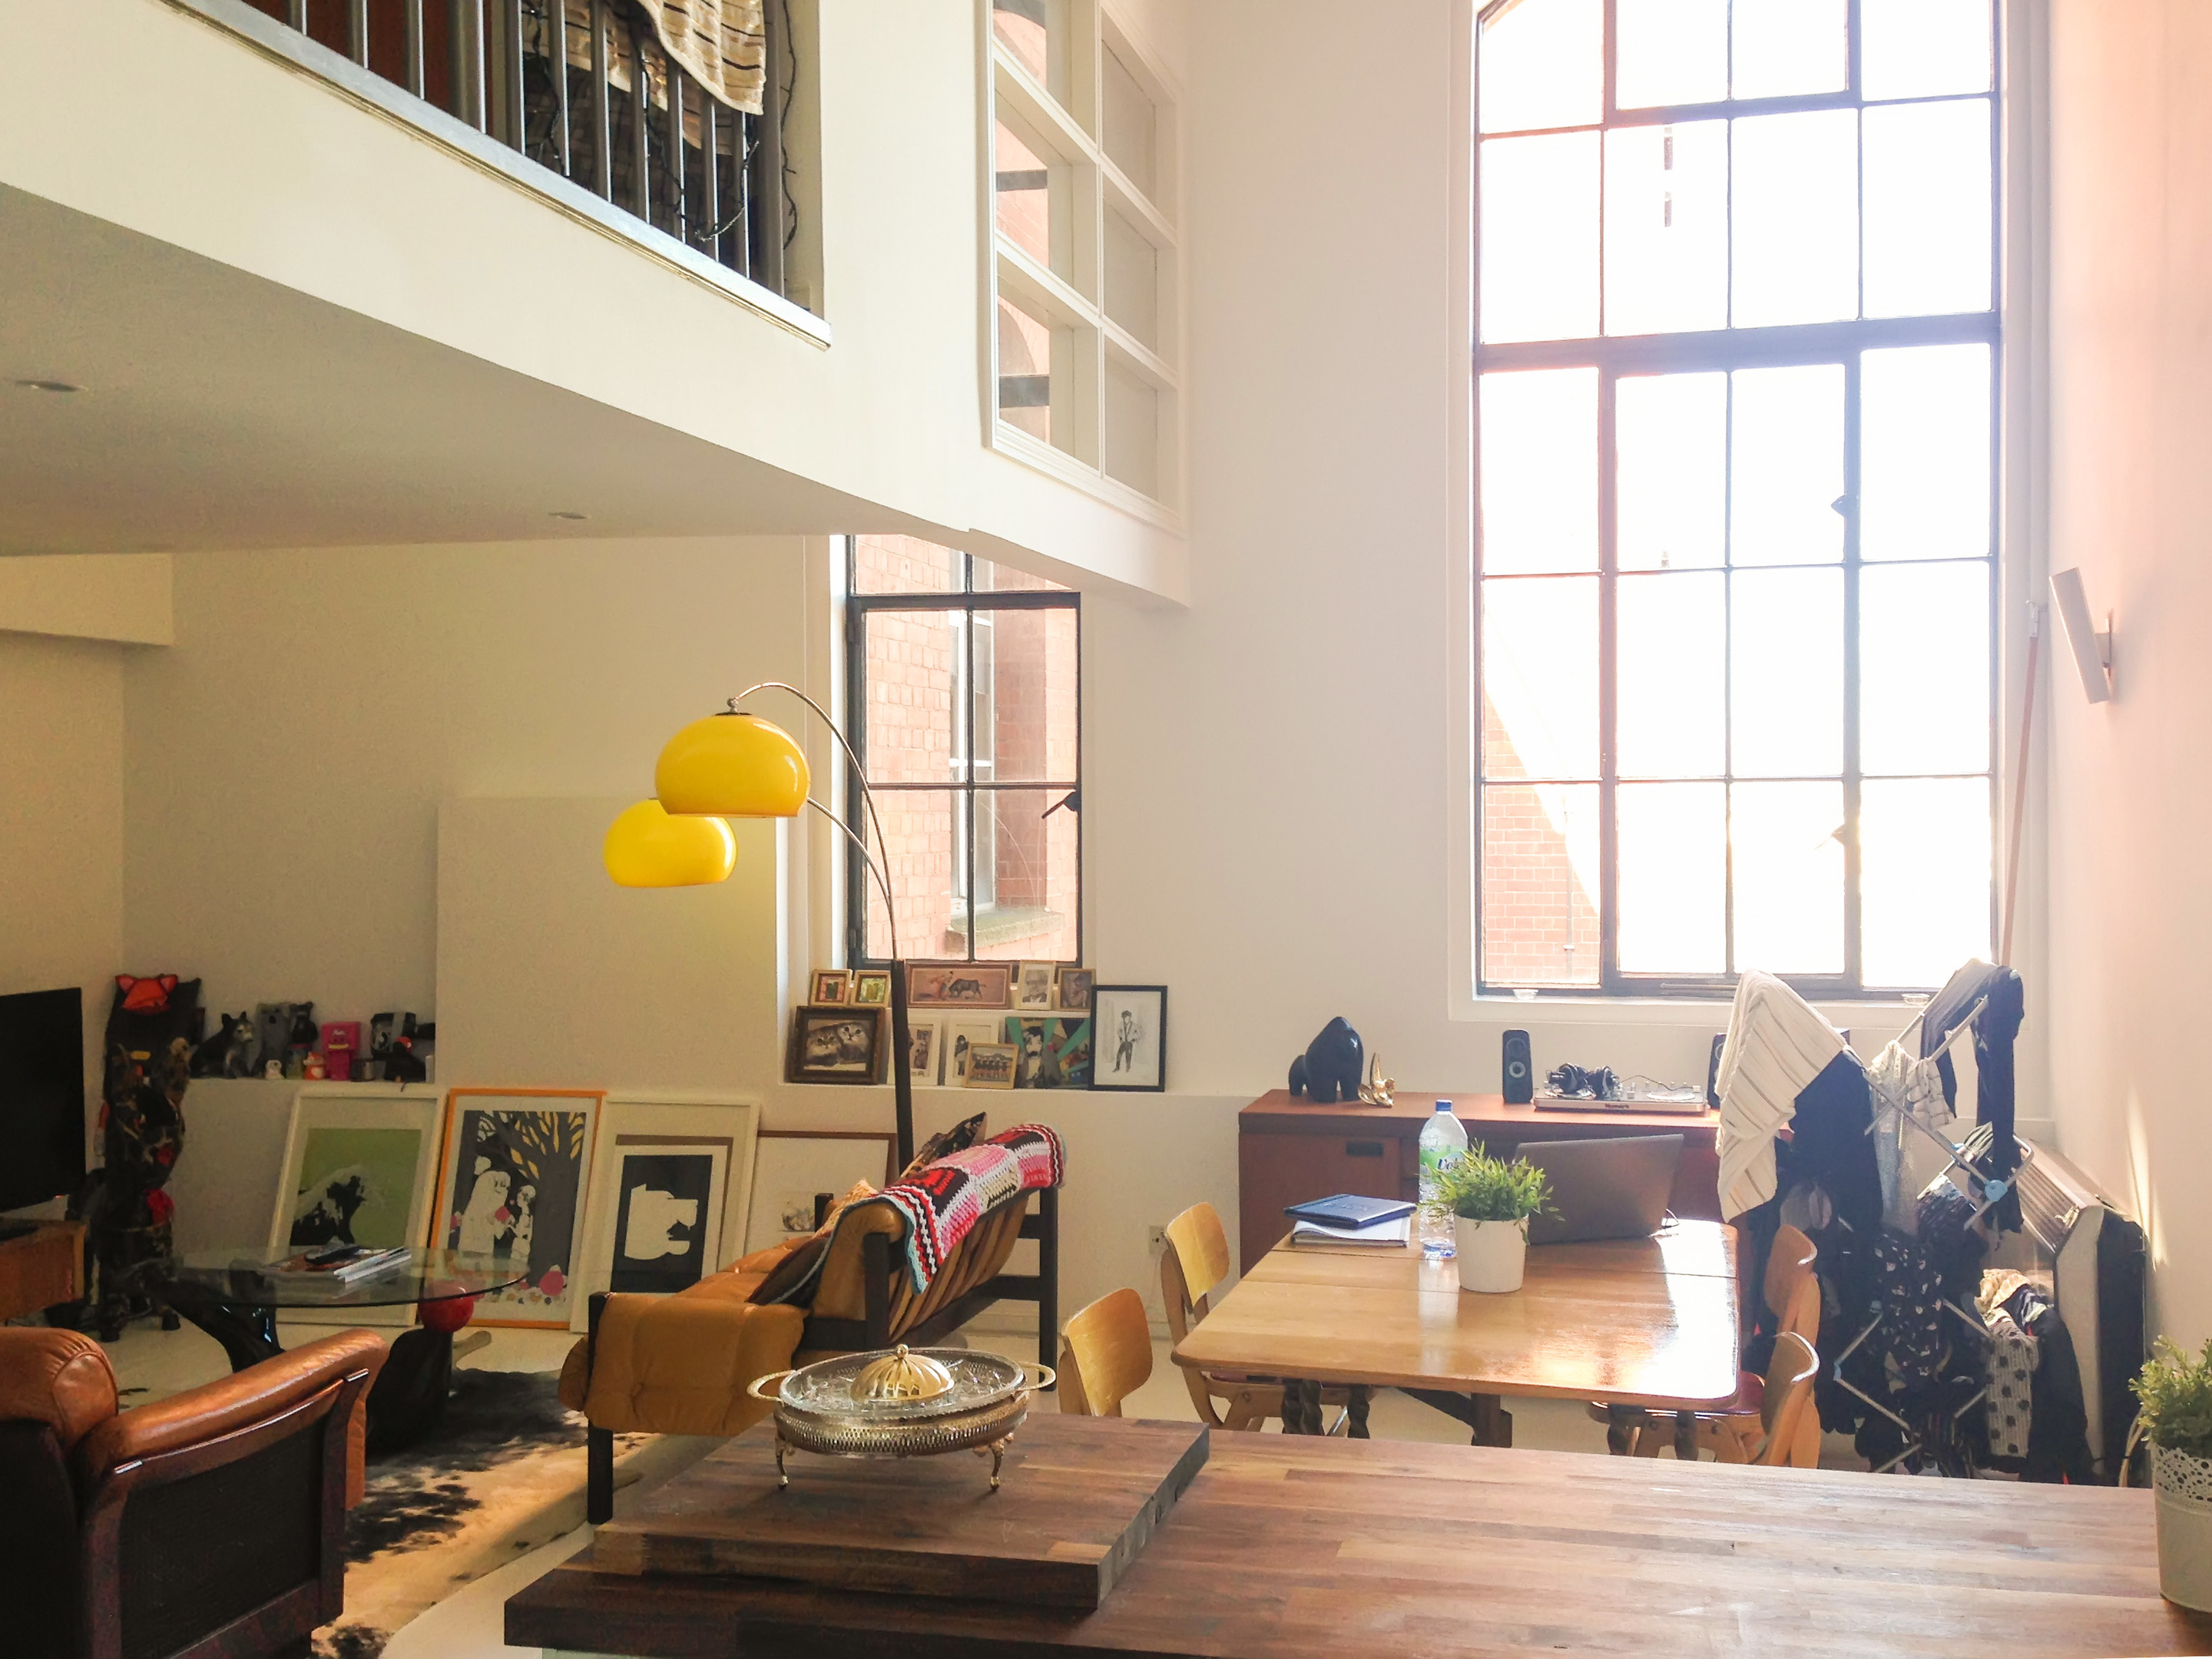
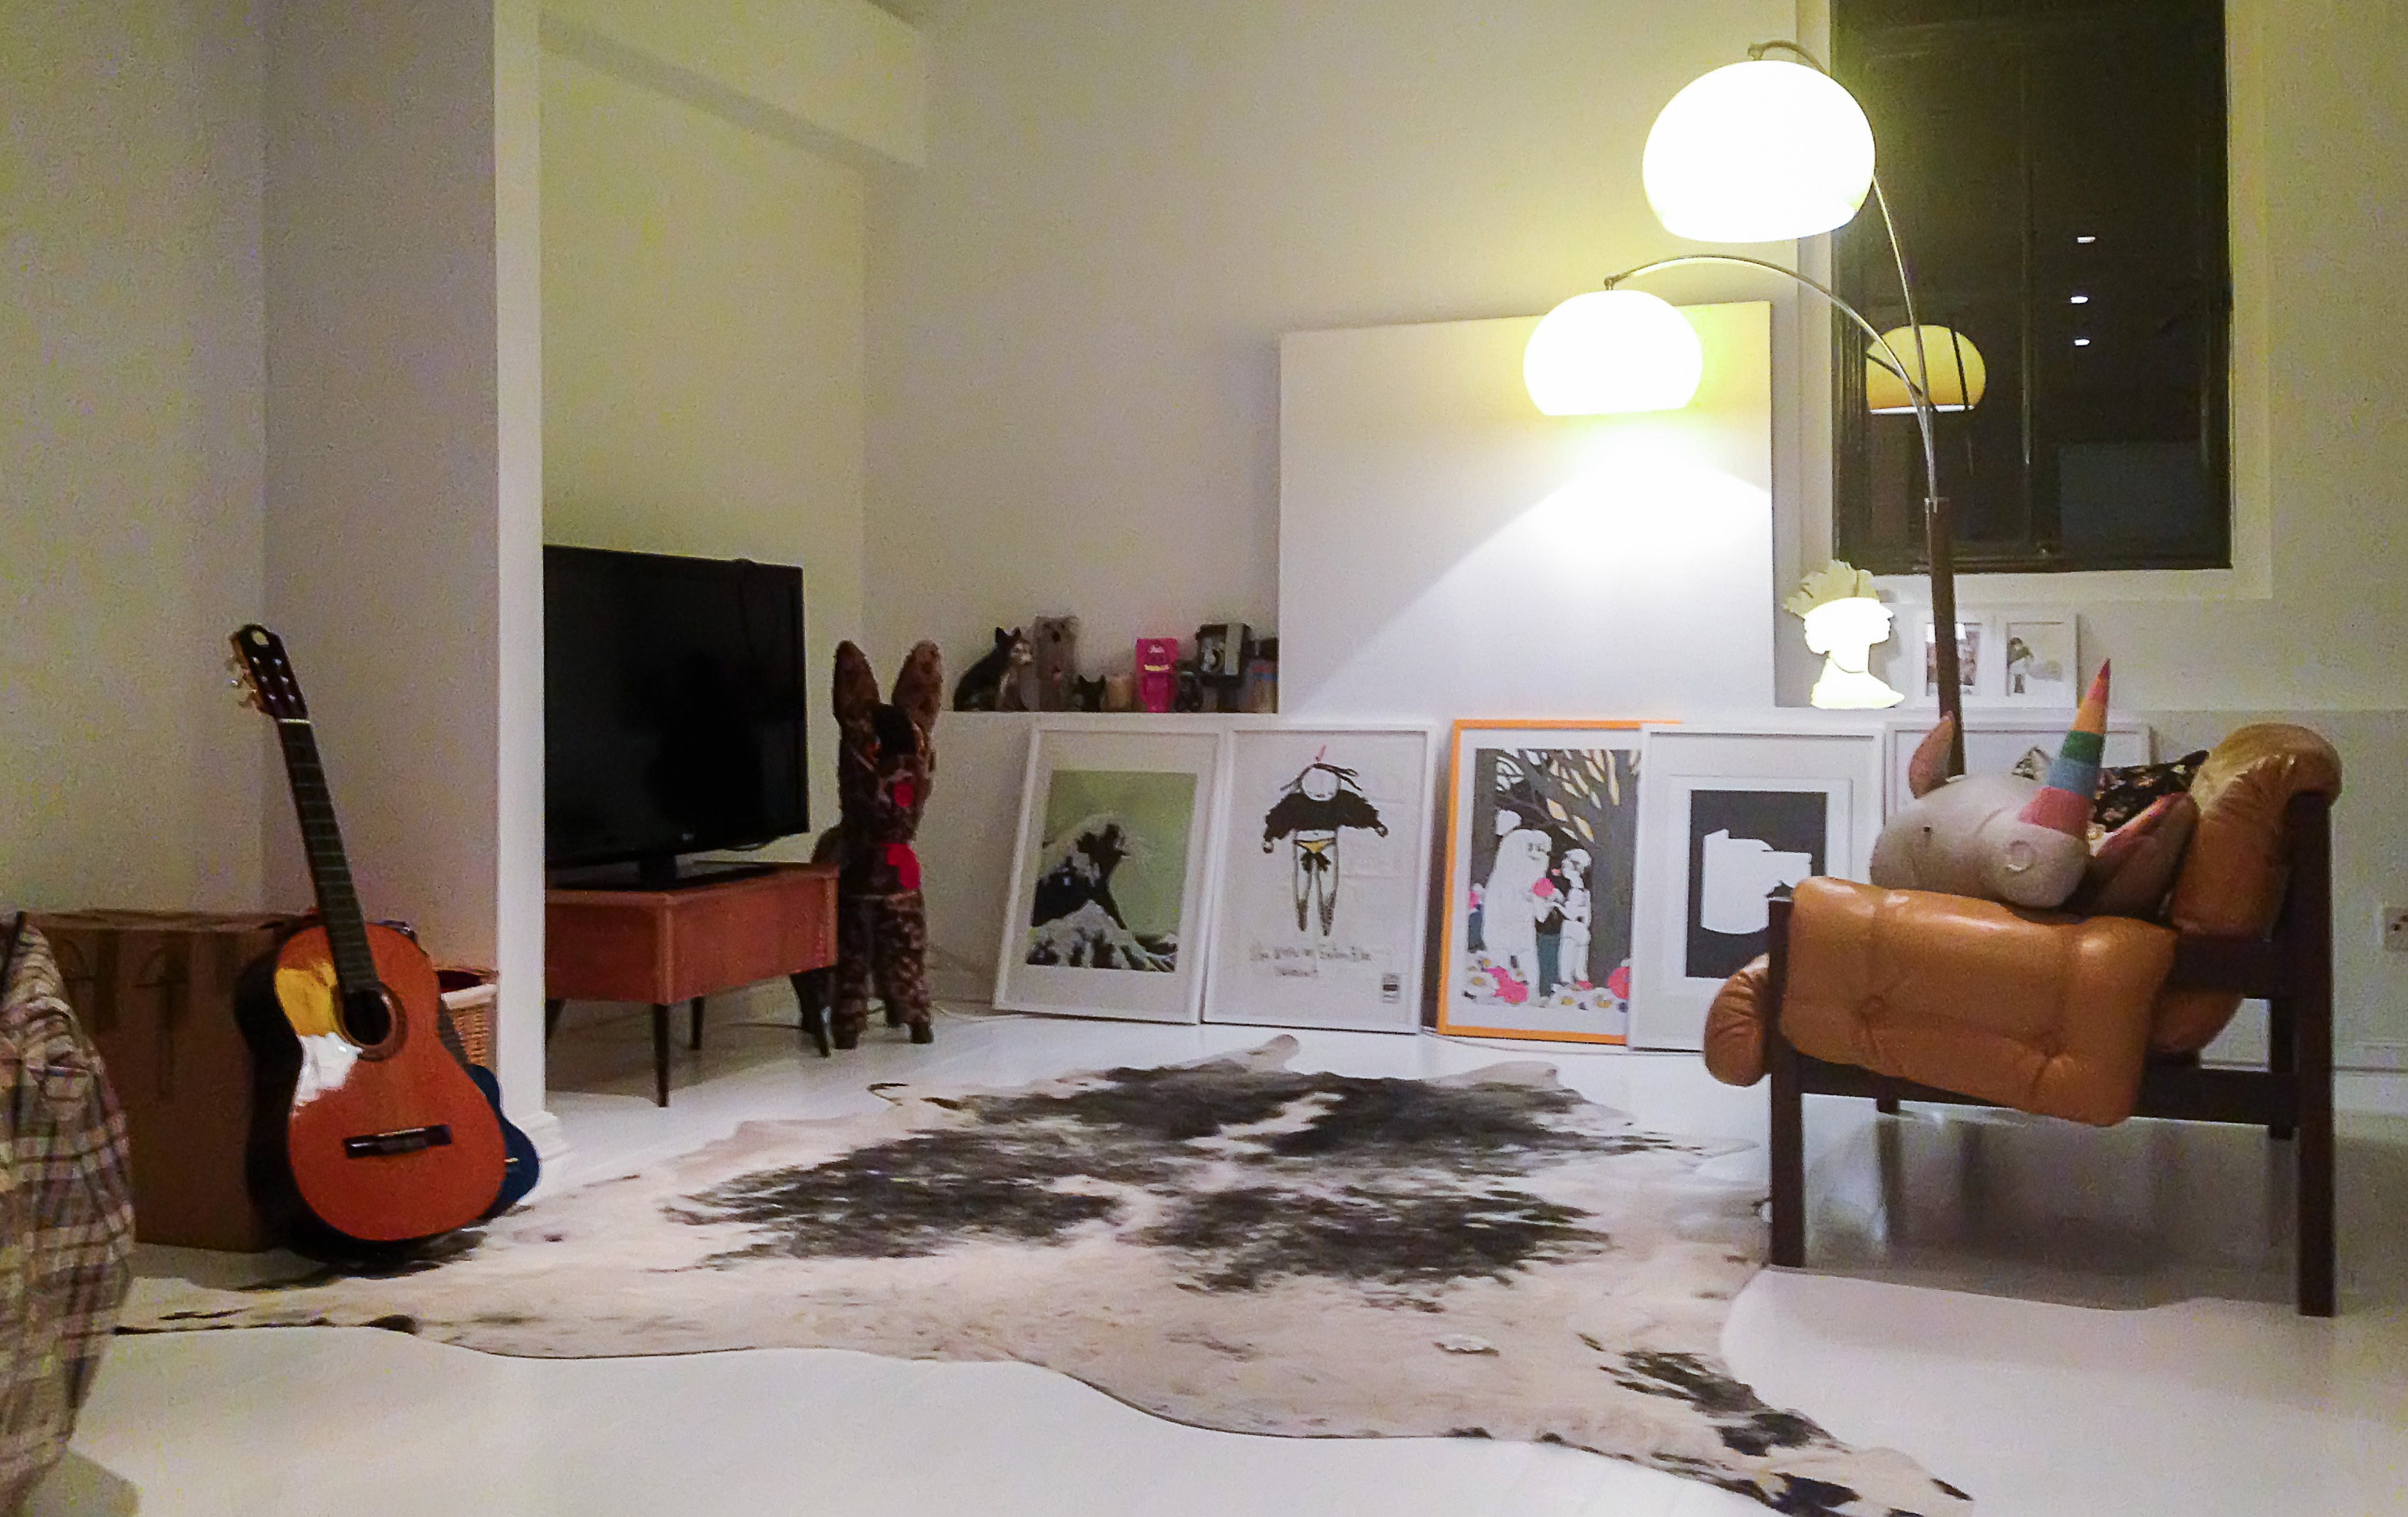
Many of us love a homely look, with an array of trinkets on view, but to the buyer this can simply look like clutter, make rooms seem smaller and distract them from the main star of the show: your property. What you want to achieve is clean, clear lines and a sense of space. If that means relegating your cat ornament collection to a cupboard for the day, taking out a table or removing a rug, then do it.
STEP THREE
Turn on the lights. Even in daylight, electric lights will help and, if you need to up the wattage even more, add in some more lamps.
STEP FOUR
Pick up your phone and walk round your house just looking at the camera-eye view before you take any pictures. What are the reflections to dodge? What looks particularly good? What are angles to avoid?
Experiment by taking photos in different positions.
And here comes the science bit. Once you’ve got your home looking the best it can, here’s how to get the perfect shots.
Event Photographer of the Year Paul Clarke tells us how even amateurs can channel their inner David Bailey.

LIGHT AND SHADE
Are they coming out too dark? Or too light? Cameras aren’t perfect at knowing how bright a picture should be, but luckily there are things you can do to help.
On an iPhone: Hold it up in camera mode. If it’s all very dark or too bright, tap on the problem area; this tells the phone to brighten or dim the scene.
On other smartphones: Look in your camera app (it might be in a settings menu) for a little +/- icon. This lets you manually make your picture brighter or darker by moving the setting in the positive (brighter) or negative (darker) direction.
If in doubt, aim to be a little brighter than you think is right. It will make for a warmer, cheerier shot, and it’s easier to fix shots that are too bright than to try and add light to dark shots.
STRAIGHT AND NARROW
Take a look at the vertical lines in your picture. Small lenses have a habit of making vertical lines (like the edges of walls, windows and doors) “lean inwards” as they go up. You can reduce this by tilting your camera up and down a little – the aim should be to get vertical lines as straight as they can be.
THE FUTURE’S NOT ORANGE
Do the colours in your photo look right? Is everything a little yellow? Cameras can sometimes get confused by the type of lights they see, especially when indoor electric lights are being used. If everything looks a little too yellow or orange, have a look for a setting called “white balance” or “incandescent” – these will make the light look much more natural.
SIZE MATTERS
The height and width of your photo can make a difference. If you want your phone photo to look like it was created by a professional, you can crop it slightly so it’s more rectangular. A wider shot will help emphasise the length of rooms; a taller shot can help emphasise height. Play with different crops to see which work best, but remember to keep it landscape for the major property portals.
One of the biggest problems you have with a phone is getting a “wide” enough shot of the whole room. Even if you’re squeezed right into the corner of the room, it’s often impossible to get everything you want into shot. Professionals will use a special wide lens to do this, but you have other options:
See if you have a Panorama mode that lets you take lots of separate shots and then automatically joins them into one. Do this slowly and carefully and you can get a very wide angle indeed, right up to showing the whole 360-degree view of the room in one shot.
If you don’t, then take several shots one after the other, turning as you do. You’ll need some help stitching them together, but that’s where the next stage comes in.
POST PRODUCTION
If you’ve taken your photos following the steps outlined above, your shots should already be looking great. But there are still things you can do to get them looking even better. If calling in a professional photographer to edit your pictures for a small fee per shot is not in your budget, then check out image editing software like Piknik, Rookie, VSCO and even Instagram. These can all help you to:
Carry out “perspective corrections” – fixing things like those vertical lines, and making the shot look much more like your eyes see the room.
Tidy up colours. Adjusting the white balance stops everything looking too yellow or too blue.
Get all the brightness and detail right – this can mean being sure that all the lights and darks are spot on, and also ensuring darker tones have a real rich depth, as well as sharpening up images that are a tiny bit blurry.
Clean up “noise”. Noise is what we call the grainy texture of photos that are taken in dimmer light than broad daylight. Special software can detect it and erase it, leaving a smoother, more professional look to the whole photo.
Stitch together separate shots to make those wide-angle photos of a whole room.